
An overview of what push notifications are, why you might use them, and how they work.

What are push notifications?
Push messages enable you to bring information to the attention of your users even when they're not using your website. They're called push messages because you can "push" information to your users even when they're not active. Compare Push technology with Pull technology to understand this concept further.
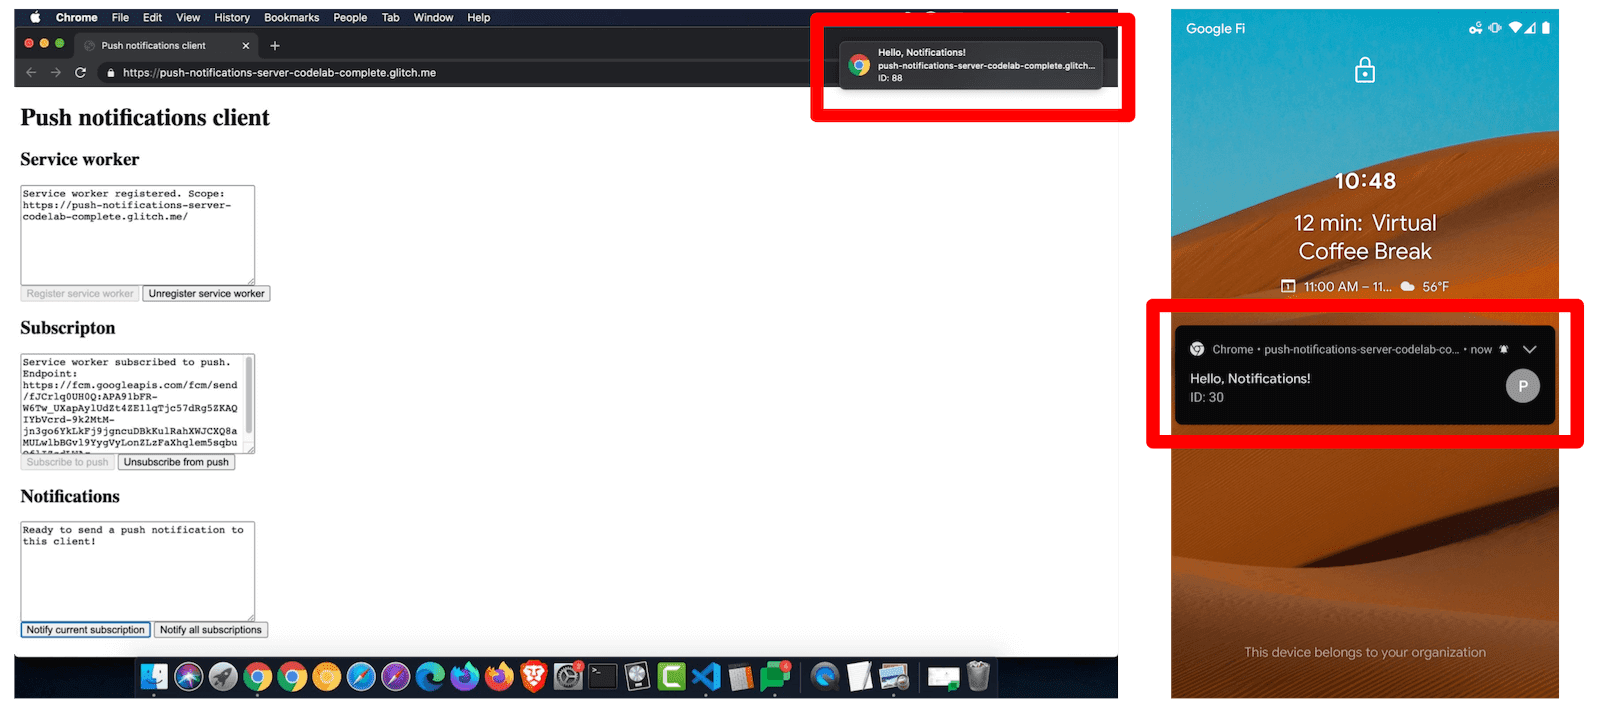
Notifications present small chunks of information to a user. Websites can use notifications to tell users about important, time-sensitive events, or actions the user needs to take. The look and feel of notifications varies between platforms:
Push messages and notifications are two separate but complementary technologies. Push is the technology for sending messages from your server to users even when they're not actively using your website. Notifications is the technology for displaying the pushed information on the user's device. It's possible to use notifications without push messaging. One day it may also be possible to use push messages without user-facing notifications (silent push) but browsers currently don't allow that. In practice they're usually used together. A non-technical user probably won't understand the difference between push messages and notifications. In this collection when we say push notifications we mean the combination of pushing a message followed by displaying it as a notification. When we say push messages we are referring to push technology on its own. And when we say notifications we're referring to notification technology on its own.
Why use push notifications?
- For users, push notifications are a way to receive timely, relevant, and precise information.
- For you (a website owner), push notifications are a way to increase user engagement.
How do push notifications work?
At a high-level, the key steps for implementing push notifications are:
- Adding client logic to ask the user for permission to send push notifications, and then sending client identifier information to your server for storage in a database.
- Adding server logic to push messages to client devices.
- Adding client logic to receive messages that have been pushed to the device and displaying them as notifications.
The rest of this page explains these steps in more detail.
Get permission to send push notifications
First, your website needs to get the user's permission to send push notifications.
This should be triggered by a user gesture, such as clicking a Yes button
next to a Do you want to receive push notifications? prompt. After that confirmation,
call Notification.requestPermission(). The operating system or
browser on the user's device will probably present some kind of UI to formally confirm that the
user wants to opt in to push notifications. This UI varies across platforms.
Subscribe the client to push notifications
After you get permission, your website needs to initiate the process of subscribing the user to push notifications. This is done through JavaScript, using the Push API. You'll need to provide a public authentication key during the subscription process, which you'll learn more about later. After you kick off the subscription process, the browser makes a network request to a web service known as a push service, which you'll also learn more about later.
Assuming that the subscription was successful, the browser returns a
PushSubscription
object. You'll need to store this data long-term.
Usually this is done by sending the information to a server that you control,
and then having the server store it in a database.

Send a push message
Your server doesn't actually send the push message directly to a client. A push service does that. A push service is a web service controlled by your user's browser vendor. When you want to send a push notification to a client you need to make a web service request to a push service. The web service request that you send to the push service is known as a web push protocol request. The web push protocol request should include:
- What data to include in the message.
- What client to send the message to.
- Instructions on how the push service should deliver the message. For example, you can specify that the push service should stop attempting to send the message after 10 minutes.
Normally you make the web push protocol request through a server that you control. Of course, your server doesn't have to construct the raw web service request itself. There are libraries that can handle that for you, such as the web-push-libs. But the underlying mechanism is a web service request over HTTP.

The push service receives your request, authenticates it, and routes the push message to the appropriate client. If the client's browser is offline, the push service queues the push message until the browser comes online.
Each browser uses whatever push service it wants. You as a website developer have no control over that. This isn't a problem because the web push protocol request is standardized. In other words, you don't have to care which push service the browser vendor is using. You just need to make sure that your web push protocol request follows the spec. Among other things, the spec states that the request must include certain headers and the data must be sent as a stream of bytes.
You do, however, need to make sure that you're sending the web push protocol
request to the correct push service. The PushSubscription data that the
browser returned to you during the subscription process provides this
information. A PushSubscription object looks like this:
{
  "endpoint": "https://fcm.googleapis.com/fcm/send/c1KrmpTuRm…",
  "expirationTime": null,
  "keys": {
    "p256dh": "BGyyVt9FFV…",
    "auth": "R9sidzkcdf…"
  }
}
The domain of the endpoint is essentially the push service. The path of the
endpoint is client identifier information that helps the push service determine
exactly which client to push the message to.
The keys are used for encryption, which is explained next.
Encrypt the push message
The data that you send to a push service must be encrypted. This prevents
the push service from being able to view the data you're sending to the client.
Remember that the browser vendor decides what push service to use, and that
push service could theoretically be unsafe or insecure. Your server must use
the keys provided in the PushSubscription to encrypt its web push protocol
requests.
Sign your web push protocol requests
The push service provides a way to prevent anyone else from sending messages to your users. Technically you don't have to do this but the easiest implementation on Chrome requires it. It's optional on Firefox. Other browsers may require it in the future.
This workflow involves a private key and public key that are unique to your application. The authentication process roughly works like this:
- You generate the private and public key as a one-off task. The combination of the private and public key is known as the application server keys. You might also see them called the VAPID keys. VAPID is the spec that defines this authentication process.
- When you subscribe a client to push notifications from your JavaScript code,
you provide your public key. When the push service generates an
endpointfor the device, it associates the provided public key with theendpoint. - When you send a web push protocol request, you sign some JSON information with your private key.
- When the push service receives your web push protocol request, it uses the stored public key to authenticate the signed information. If the signature is valid then the push service knows that the request came from a server with the matching private key.
Customize the delivery of the push message
The web push protocol request spec also defines parameters that let you customize how the push service attempts to send the push message to the client. For example, you can customize:
- The Time-To-Live (TTL) of a message, which defines how long the push service should attempt to deliver a message.
- The urgency of the message, which is useful in case the push service is preserving the client's battery life by only delivering high-priority messages.
- The topic of a message, which replaces any pending messages of the same topic with the latest message.
Receive and display the pushed messages as notifications
Once you've sent the web push protocol request to the push service, the push service keeps your request queued until one of the following events happens:
- The client comes online and the push service delivers the push message.
- The message expires.
When a client browser receives a pushed message, it decrypts the push message
data and dispatches a push event to your service
worker. A service worker is
basically JavaScript code that can run in the background, even when your website
isn't open or the browser is closed. In your service worker's push event
handler you call ServiceWorkerRegistration.showNotification() to display the information
as a notification.

Where to go next
- Web Push Notification Overview
- How Push Works
- Subscribing a User
- Permission UX
- Sending Messages with Web Push Libraries
- Web Push Protocol
- Handling Push Events
- Displaying a Notification
- Notification Behavior
- Common Notification Patterns
- Push Notifications FAQ
- Common Issues and Reporting Bugs