Want to make your Angular site accessible for everyone? This is the right place!
Making your app accessible means that all users, including those with special needs, can use it and understand the content. According to the World Health Report, more than a billion people—about 15% of the world's population—have some form of disability. So accessibility is a priority for any development project.
In this post you'll learn how to add codelyzer's accessibility checks to the build process for an Angular app. This approach lets you catch accessibility bugs directly in your text editor as you code.
Using codelyzer to detect inaccessible elements
codelyzer is a tool that sits on top of TSLint and checks whether Angular TypeScript projects follow a set of linting rules. Projects set up with the Angular command line interface (CLI) include codelyzer by default.
codelyzer has over 50 rules for checking if an Angular application follows best practices. Of those, there are about 10 rules for enforcing accessibility criteria. To learn about the various accessibility checks provided by codelyzer and their rationales, see the New Accessibility rules in Codelyzer article.
Currently, all the accessibility rules are experimental and disabled by default. You can enable them by adding them to the TSLint configuration file (tslint.json):
{
  "rulesDirectory": [
    "codelyzer"
  ],
  "rules": {
    ...,
    "template-accessibility-alt-text": true,
    "template-accessibility-elements-content": true,
    "template-accessibility-label-for": true,
    "template-accessibility-tabindex-no-positive": true,
    "template-accessibility-table-scope": true,
    "template-accessibility-valid-aria": true,
    "template-click-events-have-key-events": true,
    "template-mouse-events-have-key-events": true,
    "template-no-autofocus": true,
    "template-no-distracting-elements": true
  }
}
TSLint works with all popular text editors and IDEs. To use it with VSCode, install the TSLint plugin. In WebStorm, TSLint is enabled by default. For other editors, check the TSLint README.
With codelyzer's accessibility checks set up, you get a popup showing accessibility errors in TypeScript files or inline templates as you code:

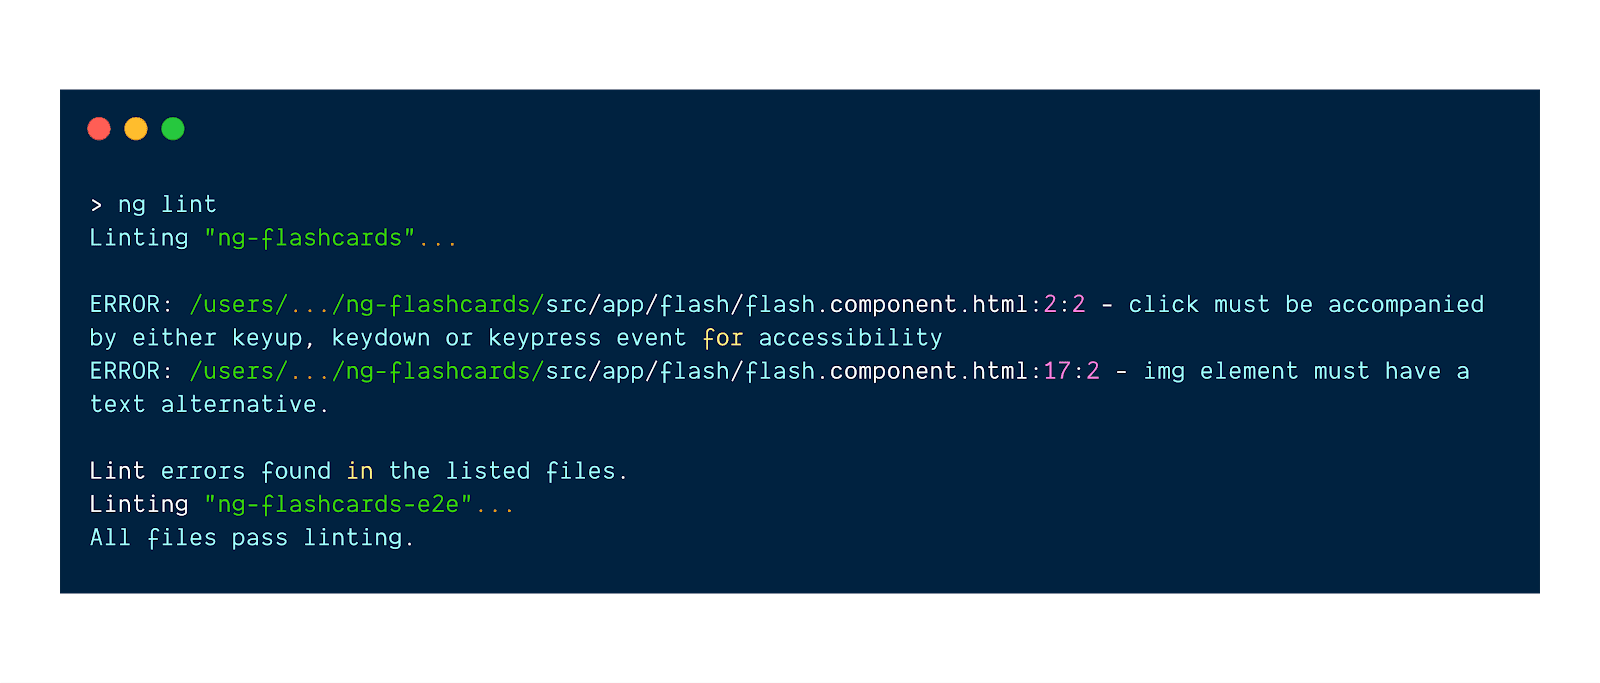
To perform linting over the entire project (including external templates), use the ng lint command:

Supplementing codelyzer
Lighthouse is another tool you can use to enforce accessibility practices in your Angular application. The main difference between codelyzer and Lighthouse is when their checks get performed. Codelyzer statically analyzes the application at development time, without running it. This means that during development you can get direct feedback in your text editor or in the terminal. By contrast, Lighthouse actually runs your application and performs a bunch of checks using dynamic analysis.
Both tools can be useful parts of your development flow. Lighthouse has better coverage given the checks it performs, while codelyzer allows you to iterate faster by getting constant feedback in your text editor.
Enforcing accessibility checks in your continuous integration
Introducing static accessibility checks in your continuous integration (CI) can be a great enhancement for your development flow. With codelyzer you can easily enforce certain accessibility rules or other practices by running ng lint on each code modification (for example for each new pull request).
This way, even before you proceed to code review, your CI can tell you if there are any accessibility violations.
Conclusion
To improve the accessibility of your Angular app:
- Enable the experimental accessibility rules in codelyzer.
- Perform accessibility linting over your entire project using the Angular CLI.
- Fix all the accessibility problems reported by codelyzer.
- Consider using Lighthouse for accessibility audits at runtime.


