


اعلان پیشفرض
برای تجربه پیشفرض، به مثال زیر مراجعه کنید که اطلاعات کافی ارائه نمیدهد.
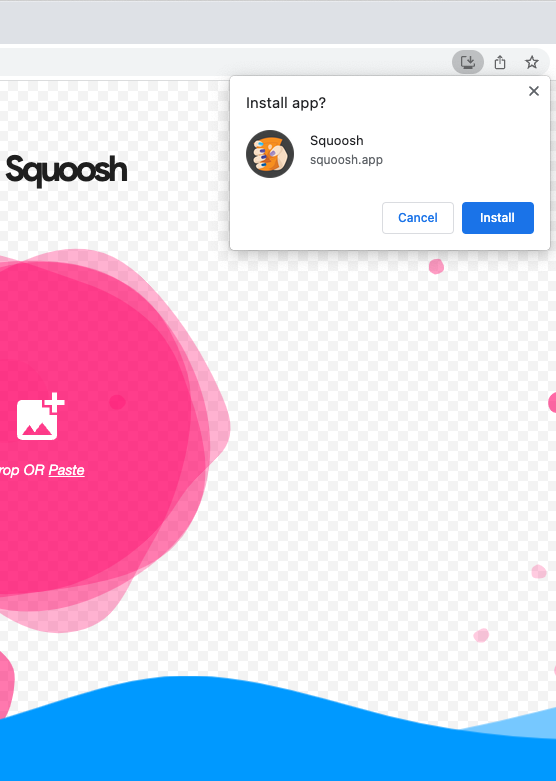
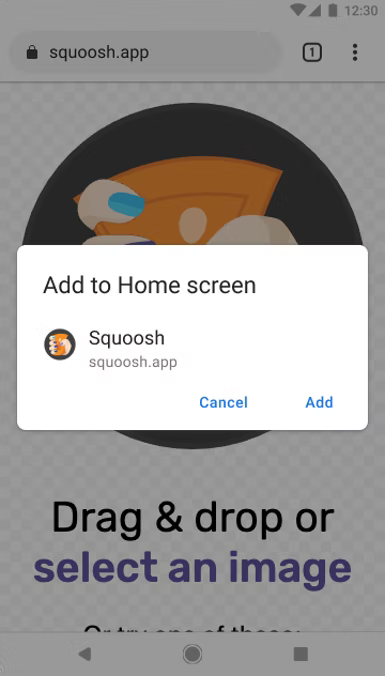
رابط کاربری نصب غنیتر
برای دریافت رابط کاربری نصب غنیتر به جای اعلان پیشفرض کوچک و معمول، screenshots و فیلدهای description را به مانیفست وب خود اضافه کنید. به مثال Squoosh.app در زیر نگاهی بیندازید:
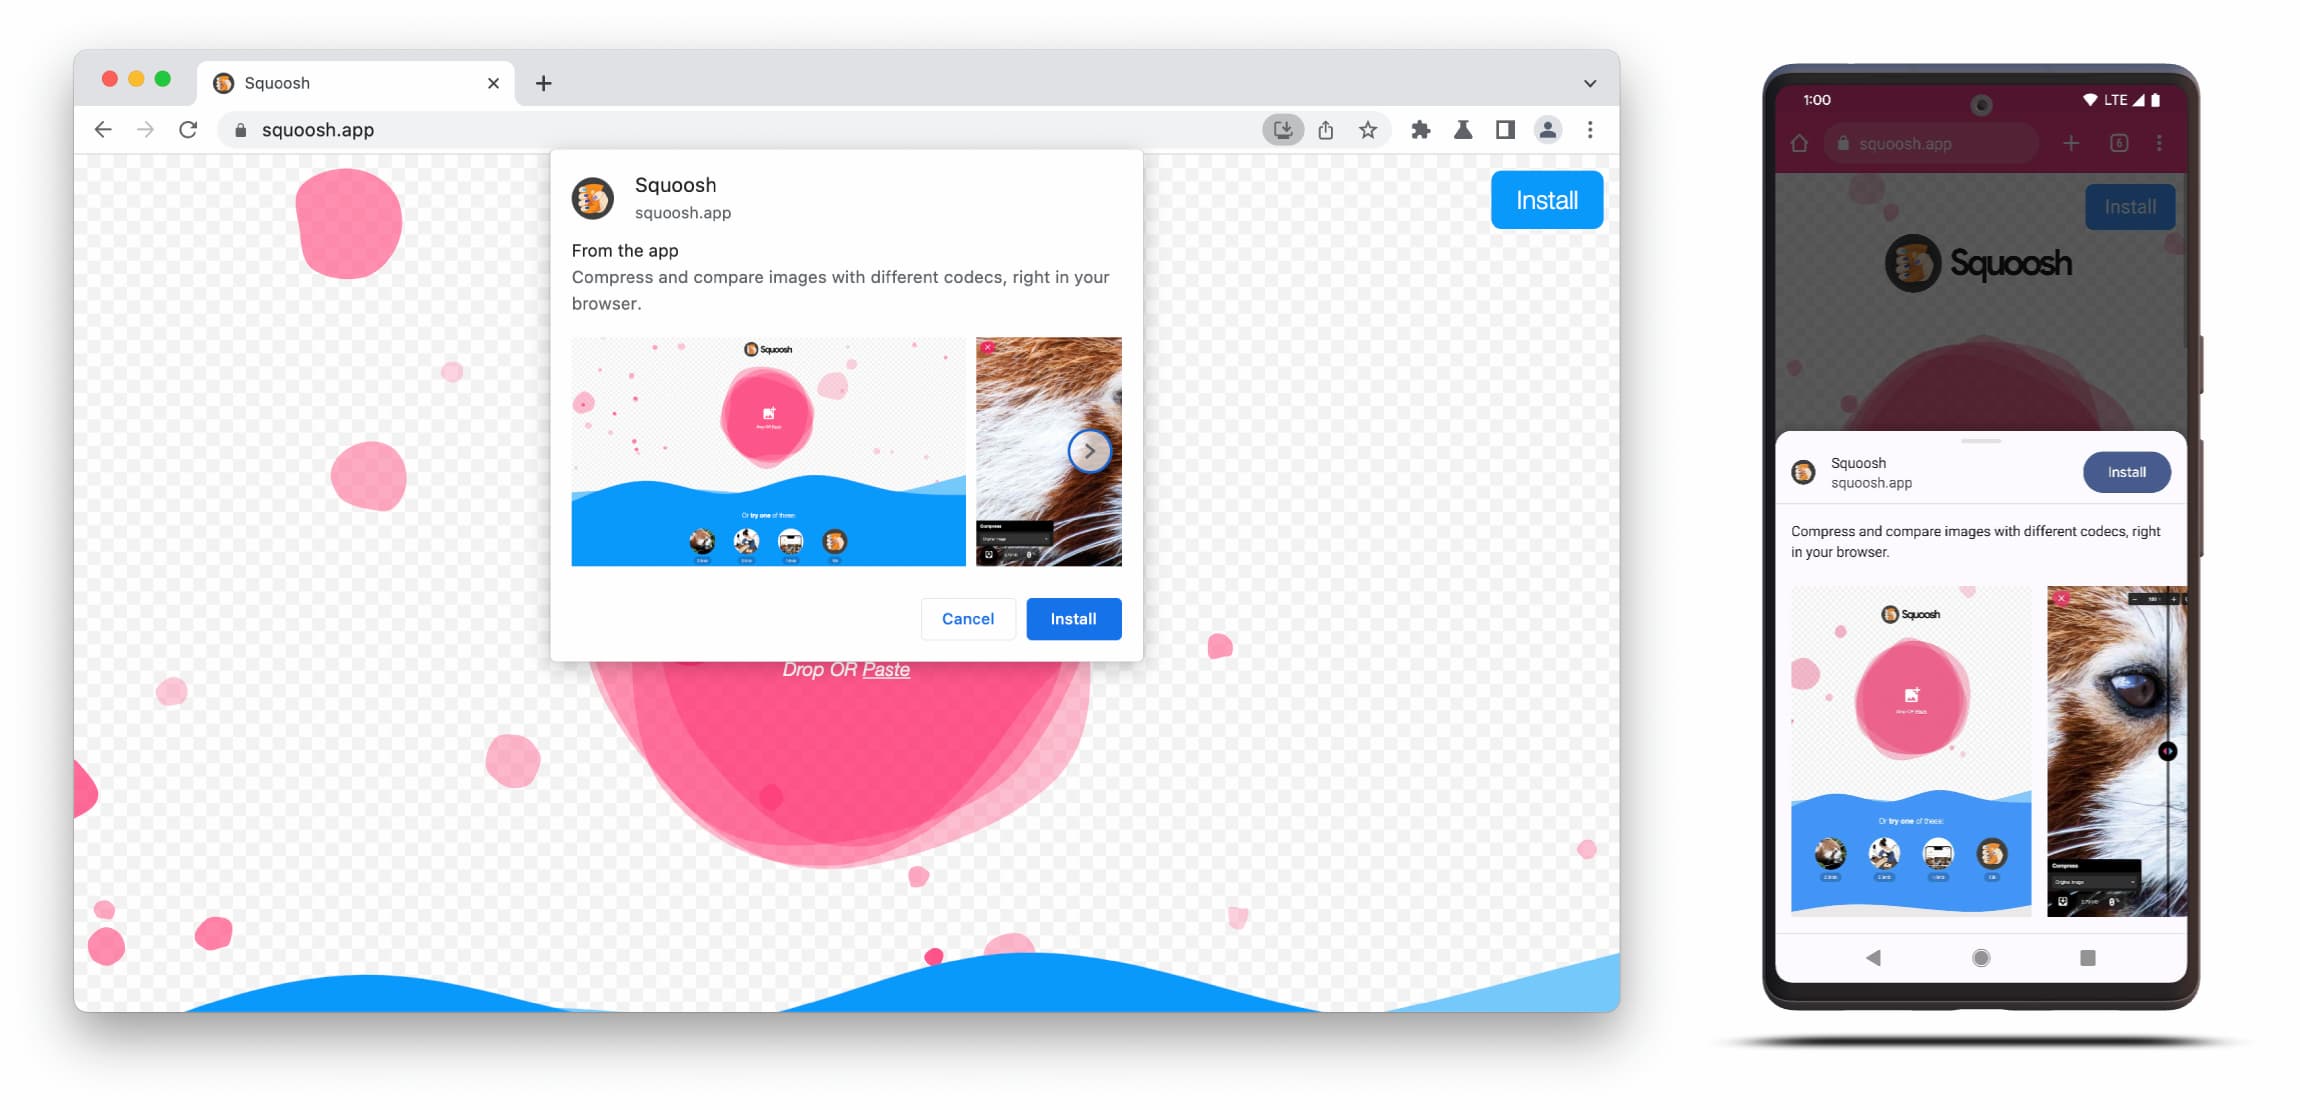
پنجرهی رابط کاربری نصب غنیتر (Richer Install UI) از محتویات فیلدهای description و screenshots در مانیفست وب تشکیل شده است.
برای فعال کردن این کادر محاورهای، فقط کافی است حداقل یک اسکرینشات برای فرم فاکتور مربوطه اضافه کنید، اما توصیه میشود توضیحات را نیز اضافه کنید. جزئیات مربوط به این فیلدها را در زیر بررسی کنید.
اسکرینشاتها
اسکرینشاتها واقعاً بخش «غنیتری» به رابط کاربری نصب جدید اضافه میکنند و ما اکیداً استفاده از آنها را توصیه میکنیم. در مانیفست خود، عضو screenshots اضافه میکنید که آرایهای را میگیرد که حداقل به یک تصویر نیاز دارد و کروم تا هشت تصویر را نمایش میدهد. مثالی در زیر نشان داده شده است.
 "screenshots": [
    {
     "src": "source/image1.png",
      "sizes": "640x320",
      "type": "image/png",
      "form_factor": "wide",
      "label": "Wonder Widgets"
    }
]
اسکرینشاتها باید از این معیارها پیروی کنند:
- عرض و ارتفاع باید حداقل ۳۲۰ پیکسل و حداکثر ۳۸۴۰ پیکسل باشد.
- حداکثر بُعد نمیتواند بیش از ۲.۳ برابر حداقل بُعد باشد.
- تمام اسکرینشاتهایی که مقدار ضریب شکل یکسانی دارند، باید نسبت ابعاد یکسانی داشته باشند.
- فقط فرمتهای تصویری JPEG و PNG پشتیبانی میشوند.
- فقط هشت اسکرینشات نمایش داده میشود. اگر تعداد بیشتری اضافه شود، مرورگر به سادگی آنها را نادیده میگیرد.
همچنین، باید اندازه و نوع تصویر را نیز مشخص کنید تا به درستی نمایش داده شود.
form_factor به مرورگر نشان میدهد که آیا تصویر صفحه باید در محیط دسکتاپ ( wide ) یا موبایل ( narrow ) نمایش داده شود.
توضیحات
عضو description ، برنامه را در اعلان نصب توصیف میکند تا کاربر را به نگهداشتن برنامه دعوت کند.
این کادر محاورهای حتی بدون description هم نمایش داده میشود، اما توصیه میشود که این کار را انجام دهید. حداکثر زمانی وجود دارد که پس از ۷ خط متن (تقریباً ۳۲۴ کاراکتر) شروع میشود و توضیحات طولانیتر کوتاه شده و یک حذف اضافه میشود.
{
…
"description": "Compress and compare images with different codecs
right in your browser."
}
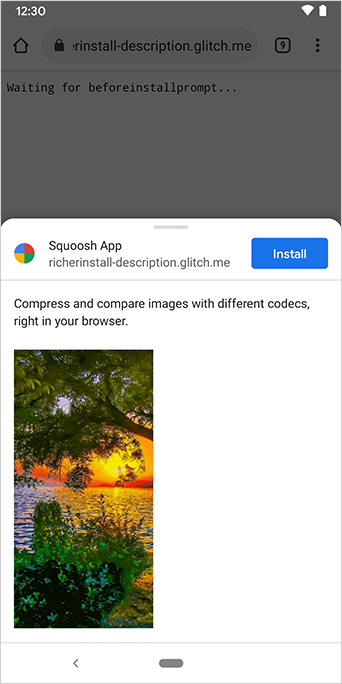
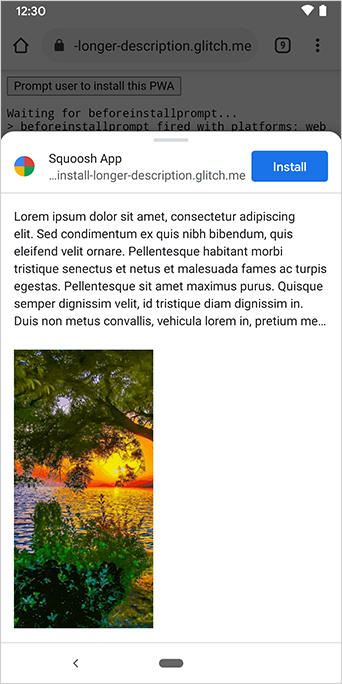
توضیحات در بالای اعلان نصب ظاهر میشود.
شاید از اسکرینشاتها متوجه شده باشید که در دیالوگهای نصب، مبدا برنامه نیز فهرست شده است. مبداهایی که برای تناسب با رابط کاربری خیلی طولانی هستند، کوتاه میشوند. این کار به عنوان حذف (eliding) نیز شناخته میشود و به عنوان یک اقدام امنیتی برای محافظت از کاربران استفاده میشود.
مطالعه بیشتر
نسخه آزمایشی
اچتیامال
<!DOCTYPE html>
<html lang="en">
  <head>
    <meta charset="utf-8" />
    <meta name="viewport" content="width=device-width, initial-scale=1" />
    <meta name="color-scheme" content="dark light" />
    <link rel="manifest" href="manifest.json" />
    <title>How to add Richer Install UI to your web app</title>
    <!-- TODO: Devsite - Removed inline handlers -->
    <!-- <script>
      if ('serviceWorker' in navigator) {
        window.addEventListener('load', () => {
          navigator.serviceWorker.register('sw.js');
        });
      }
    </script>
    <script type="module" src="script.js"></script> -->
  </head>
  <body>
    <h1>How to add Richer Install UI to your web app</h1>
    <ol>
      <li>
        Install the app by clicking the button below. After the installation,
        the button is disabled.
        <p>
          <button disabled type="button">Install</button>
        </p>
      </li>
      <li>
        When you click on install a dialog similar to the ones from app stores
        will be displayed.
      </li>
      <li>
        The dialog includes the `description` and `screenshots` set in the app
        manifest.
      </li>
      <li>
        Screenshots should be different depending if the app is being installed
        on a mobile or desktop device, according to the `form_factor` value set
        for the screenshots on the manifest
      </li>
    </ol>
  </body>
</html>جیاس
        // The install button.
const installButton = document.querySelector('button');

// Only relevant for browsers that support installation.
if ('BeforeInstallPromptEvent' in window) {
  // Variable to stash the `BeforeInstallPromptEvent`.
  let installEvent = null;

  // Function that will be run when the app is installed.
  const onInstall = () => {
    // Disable the install button.
    installButton.disabled = true;
    // No longer needed.
    installEvent = null;
  };

  window.addEventListener('beforeinstallprompt', (event) => {
    // Do not show the install prompt quite yet.
    event.preventDefault();
    // Stash the `BeforeInstallPromptEvent` for later.
    installEvent = event;
    // Enable the install button.
    installButton.disabled = false;
  });

  installButton.addEventListener('click', async () => {
    // If there is no stashed `BeforeInstallPromptEvent`, return.
    if (!installEvent) {
      return;
    }
    // Use the stashed `BeforeInstallPromptEvent` to prompt the user.
    installEvent.prompt();
    const result = await installEvent.userChoice;
    // If the user installs the app, run `onInstall()`.
    if (result.outcome === 'accepted') {
      onInstall();
    }
  });

  // The user can decide to ignore the install button
  // and just use the browser prompt directly. In this case
  // likewise run `onInstall()`.
  window.addEventListener('appinstalled', () => {
    onInstall();
  });
}