


기본 프롬프트
아래 예에서 충분한 컨텍스트를 제공하지 않는 기본 환경을 확인하세요.
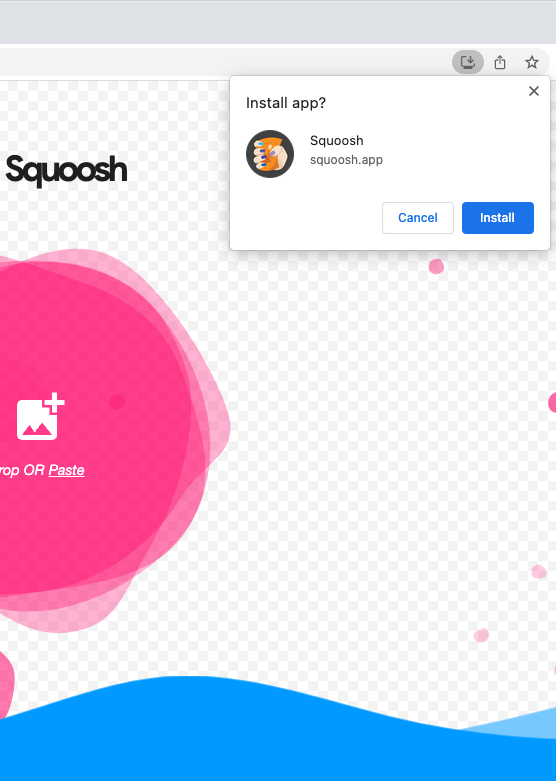
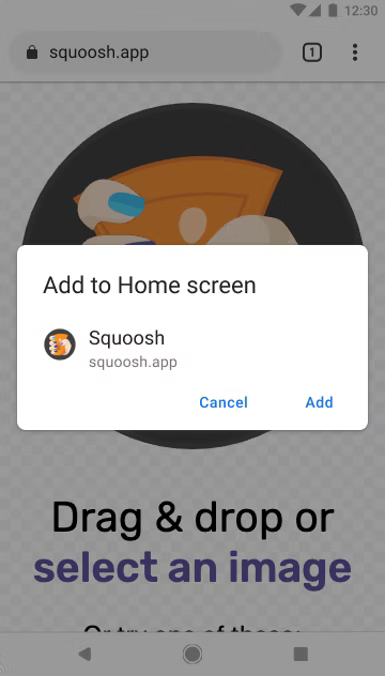
더욱 풍부한 설치 UI
일반적인 작은 기본 프롬프트 대신 더욱 풍부한 설치 UI 대화상자를 표시하려면 웹 매니페스트에 screenshots 및 description 필드를 추가하세요. 아래 Squoosh.app 예를 참고하세요.
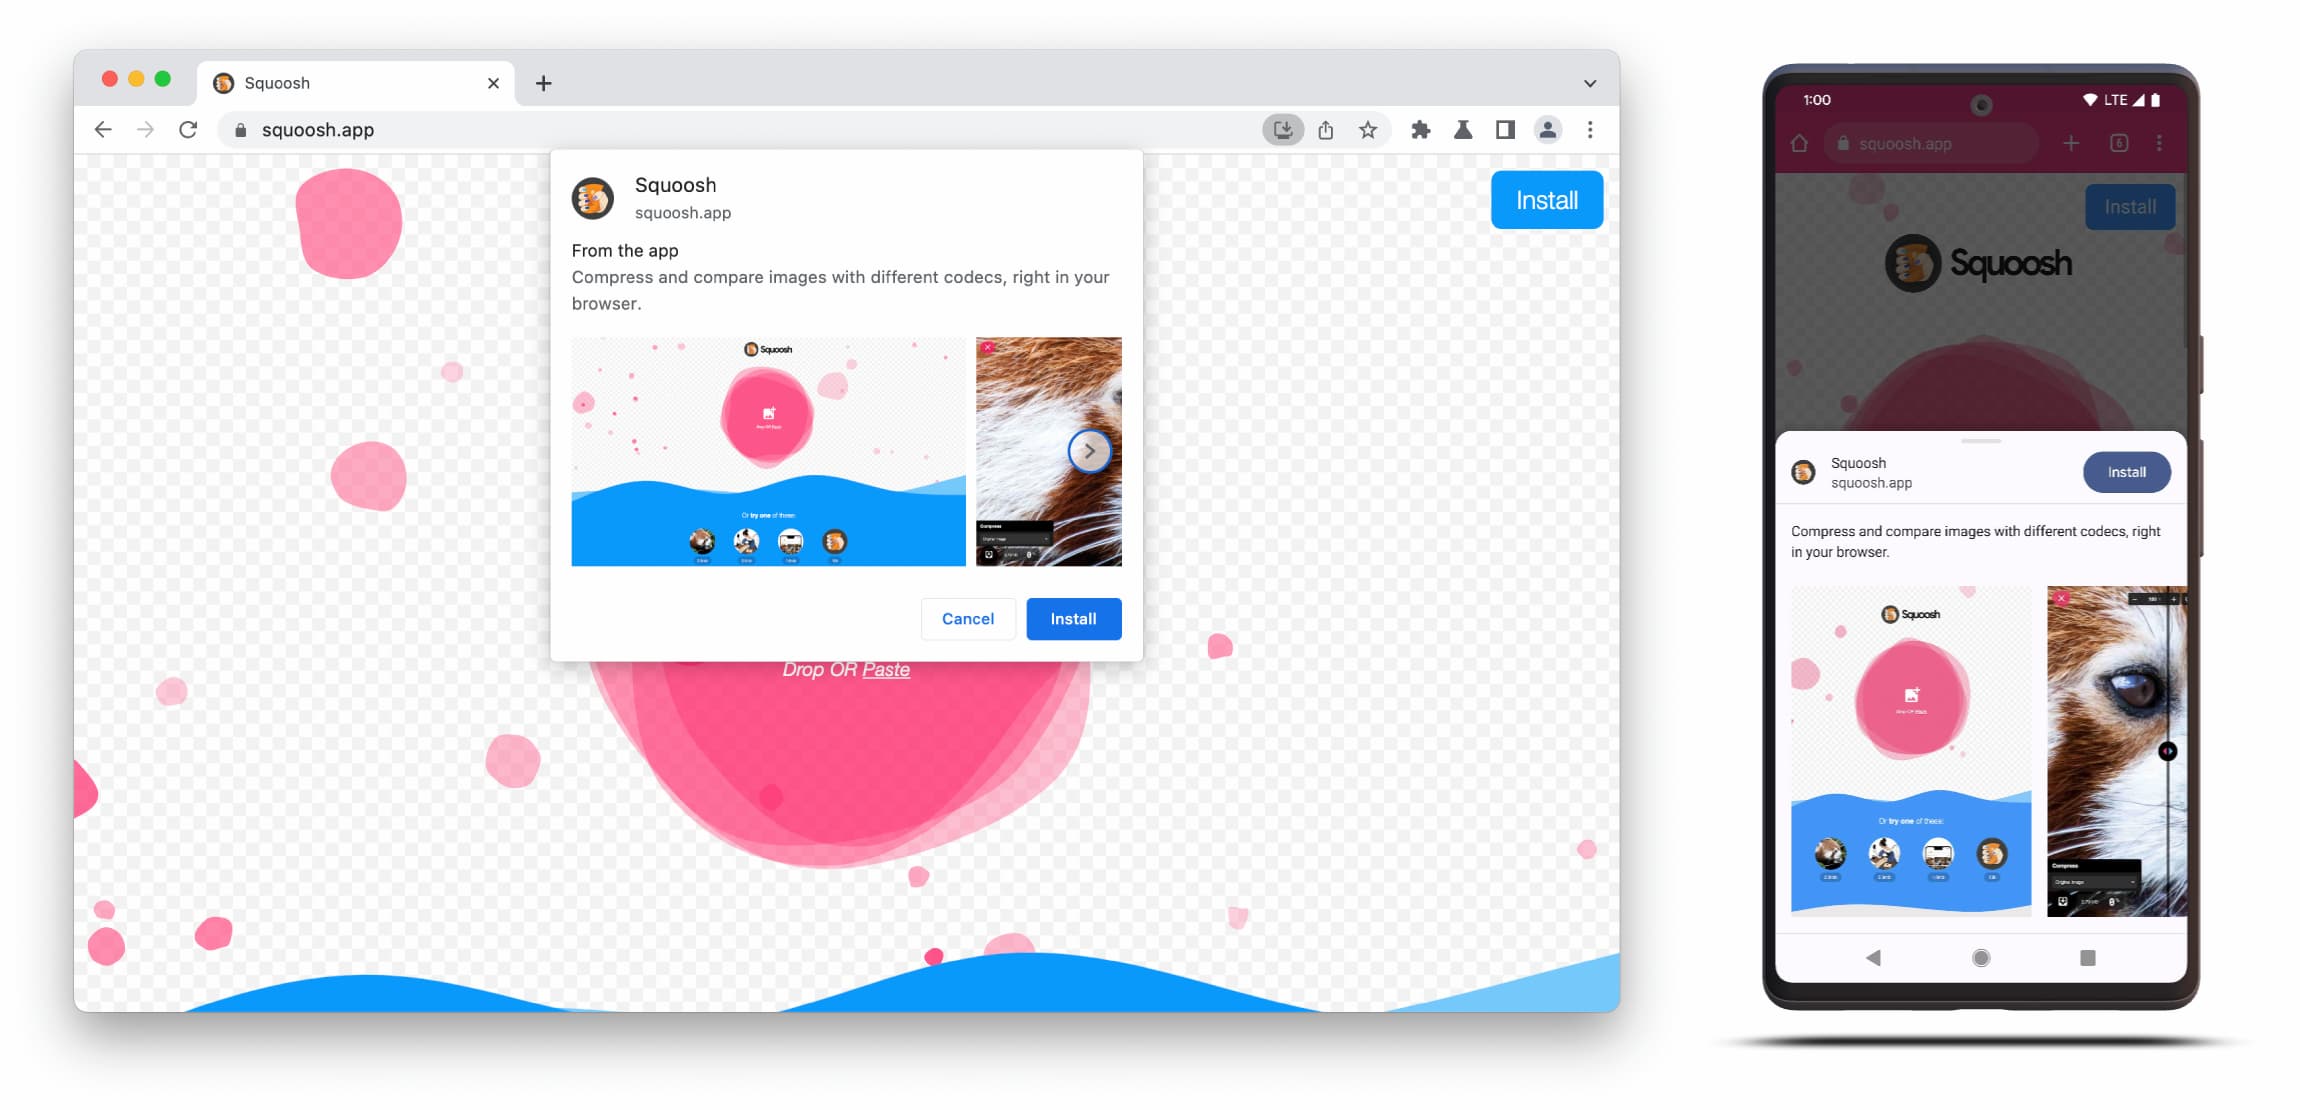
더욱 풍부한 설치 UI 대화상자는 웹 매니페스트의 description 및 screenshots 필드의 콘텐츠로 구성됩니다.
대화상자를 트리거하려면 해당 양식 요소의 스크린샷을 하나 이상 추가하기만 하면 되지만 설명을 추가하는 것이 좋습니다. 아래에서 이러한 필드의 세부정보를 확인하세요.
스크린샷
스크린샷은 새 설치 UI에 '더욱 풍부한' 부분을 추가하므로 사용하는 것이 좋습니다. 매니페스트에서 이미지가 하나 이상 필요한 배열을 가져오는 screenshots 멤버를 추가하면 Chrome에서 최대 8개의 이미지를 표시합니다. 아래 예를 참고하세요.
 "screenshots": [
    {
     "src": "source/image1.png",
      "sizes": "640x320",
      "type": "image/png",
      "form_factor": "wide",
      "label": "Wonder Widgets"
    }
]
스크린샷은 다음 기준을 충족해야 합니다.
- 너비와 높이는 최소 320픽셀, 최대 3,840픽셀이어야 합니다.
- 최대 측정기준은 최소 측정기준의 2.3배를 초과할 수 없습니다.
- 동일한 양식 요소 값이 있는 모든 스크린샷은 가로세로 비율이 동일 해야 합니다.
- JPEG 및 PNG 이미지 형식만 지원됩니다.
- 스크린샷은 8개만 표시됩니다. 더 추가하면 사용자 에이전트에서 무시합니다.
또한 이미지가 올바르게 렌더링되도록 이미지의 크기와 유형을 포함해야 합니다.
form_factor는 스크린샷이 데스크톱 (wide) 또는 모바일 환경 (narrow)에 표시되어야 하는지 브라우저에 나타냅니다.
설명
description 멤버는 설치 프롬프트에서 애플리케이션을 설명하여 사용자가 앱을 유지하도록 초대합니다.
description이 없어도 대화상자가 표시되지만 추가하는 것이 좋습니다.
텍스트가 7줄 (약 324자)을 넘으면 최대값이 적용되고 긴 설명은 잘리고 줄임표가 추가됩니다.
{
…
"description": "Compress and compare images with different codecs
right in your browser."
}
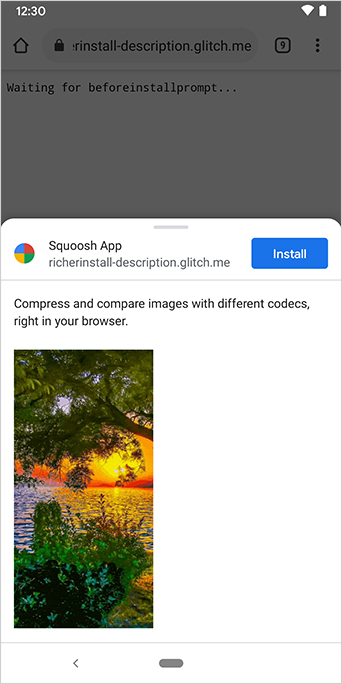
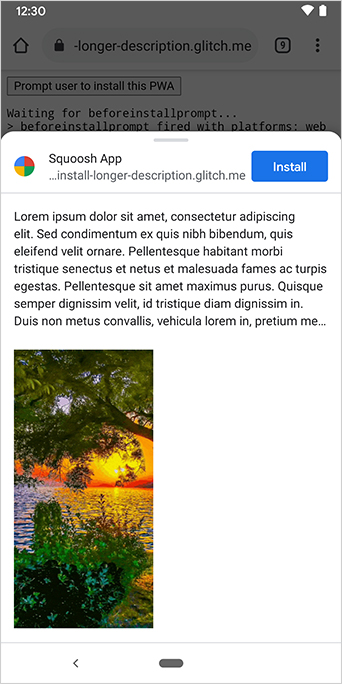
설명은 설치 프롬프트 상단에 표시됩니다.
스크린샷에서 설치 대화상자에도 앱의 출처가 표시되는 것을 확인할 수 있습니다. UI에 맞지 않을 정도로 긴 출처는 잘립니다. 이를 생략이라고도 하며 사용자를 보호하기 위한 보안 조치로 사용됩니다. 사용자를 보호하기 위한 보안 조치
추가 자료
데모
HTML
<!DOCTYPE html>
<html lang="en">
  <head>
    <meta charset="utf-8" />
    <meta name="viewport" content="width=device-width, initial-scale=1" />
    <meta name="color-scheme" content="dark light" />
    <link rel="manifest" href="manifest.json" />
    <title>How to add Richer Install UI to your web app</title>
    <!-- TODO: Devsite - Removed inline handlers -->
    <!-- <script>
      if ('serviceWorker' in navigator) {
        window.addEventListener('load', () => {
          navigator.serviceWorker.register('sw.js');
        });
      }
    </script>
    <script type="module" src="script.js"></script> -->
  </head>
  <body>
    <h1>How to add Richer Install UI to your web app</h1>
    <ol>
      <li>
        Install the app by clicking the button below. After the installation,
        the button is disabled.
        <p>
          <button disabled type="button">Install</button>
        </p>
      </li>
      <li>
        When you click on install a dialog similar to the ones from app stores
        will be displayed.
      </li>
      <li>
        The dialog includes the `description` and `screenshots` set in the app
        manifest.
      </li>
      <li>
        Screenshots should be different depending if the app is being installed
        on a mobile or desktop device, according to the `form_factor` value set
        for the screenshots on the manifest
      </li>
    </ol>
  </body>
</html>
JS
        // The install button.
const installButton = document.querySelector('button');

// Only relevant for browsers that support installation.
if ('BeforeInstallPromptEvent' in window) {
  // Variable to stash the `BeforeInstallPromptEvent`.
  let installEvent = null;

  // Function that will be run when the app is installed.
  const onInstall = () => {
    // Disable the install button.
    installButton.disabled = true;
    // No longer needed.
    installEvent = null;
  };

  window.addEventListener('beforeinstallprompt', (event) => {
    // Do not show the install prompt quite yet.
    event.preventDefault();
    // Stash the `BeforeInstallPromptEvent` for later.
    installEvent = event;
    // Enable the install button.
    installButton.disabled = false;
  });

  installButton.addEventListener('click', async () => {
    // If there is no stashed `BeforeInstallPromptEvent`, return.
    if (!installEvent) {
      return;
    }
    // Use the stashed `BeforeInstallPromptEvent` to prompt the user.
    installEvent.prompt();
    const result = await installEvent.userChoice;
    // If the user installs the app, run `onInstall()`.
    if (result.outcome === 'accepted') {
      onInstall();
    }
  });

  // The user can decide to ignore the install button
  // and just use the browser prompt directly. In this case
  // likewise run `onInstall()`.
  window.addEventListener('appinstalled', () => {
    onInstall();
  });
}