

Introduction
The web severely lacks expression. To see what I mean, take a peek at a "modern" web app like GMail:
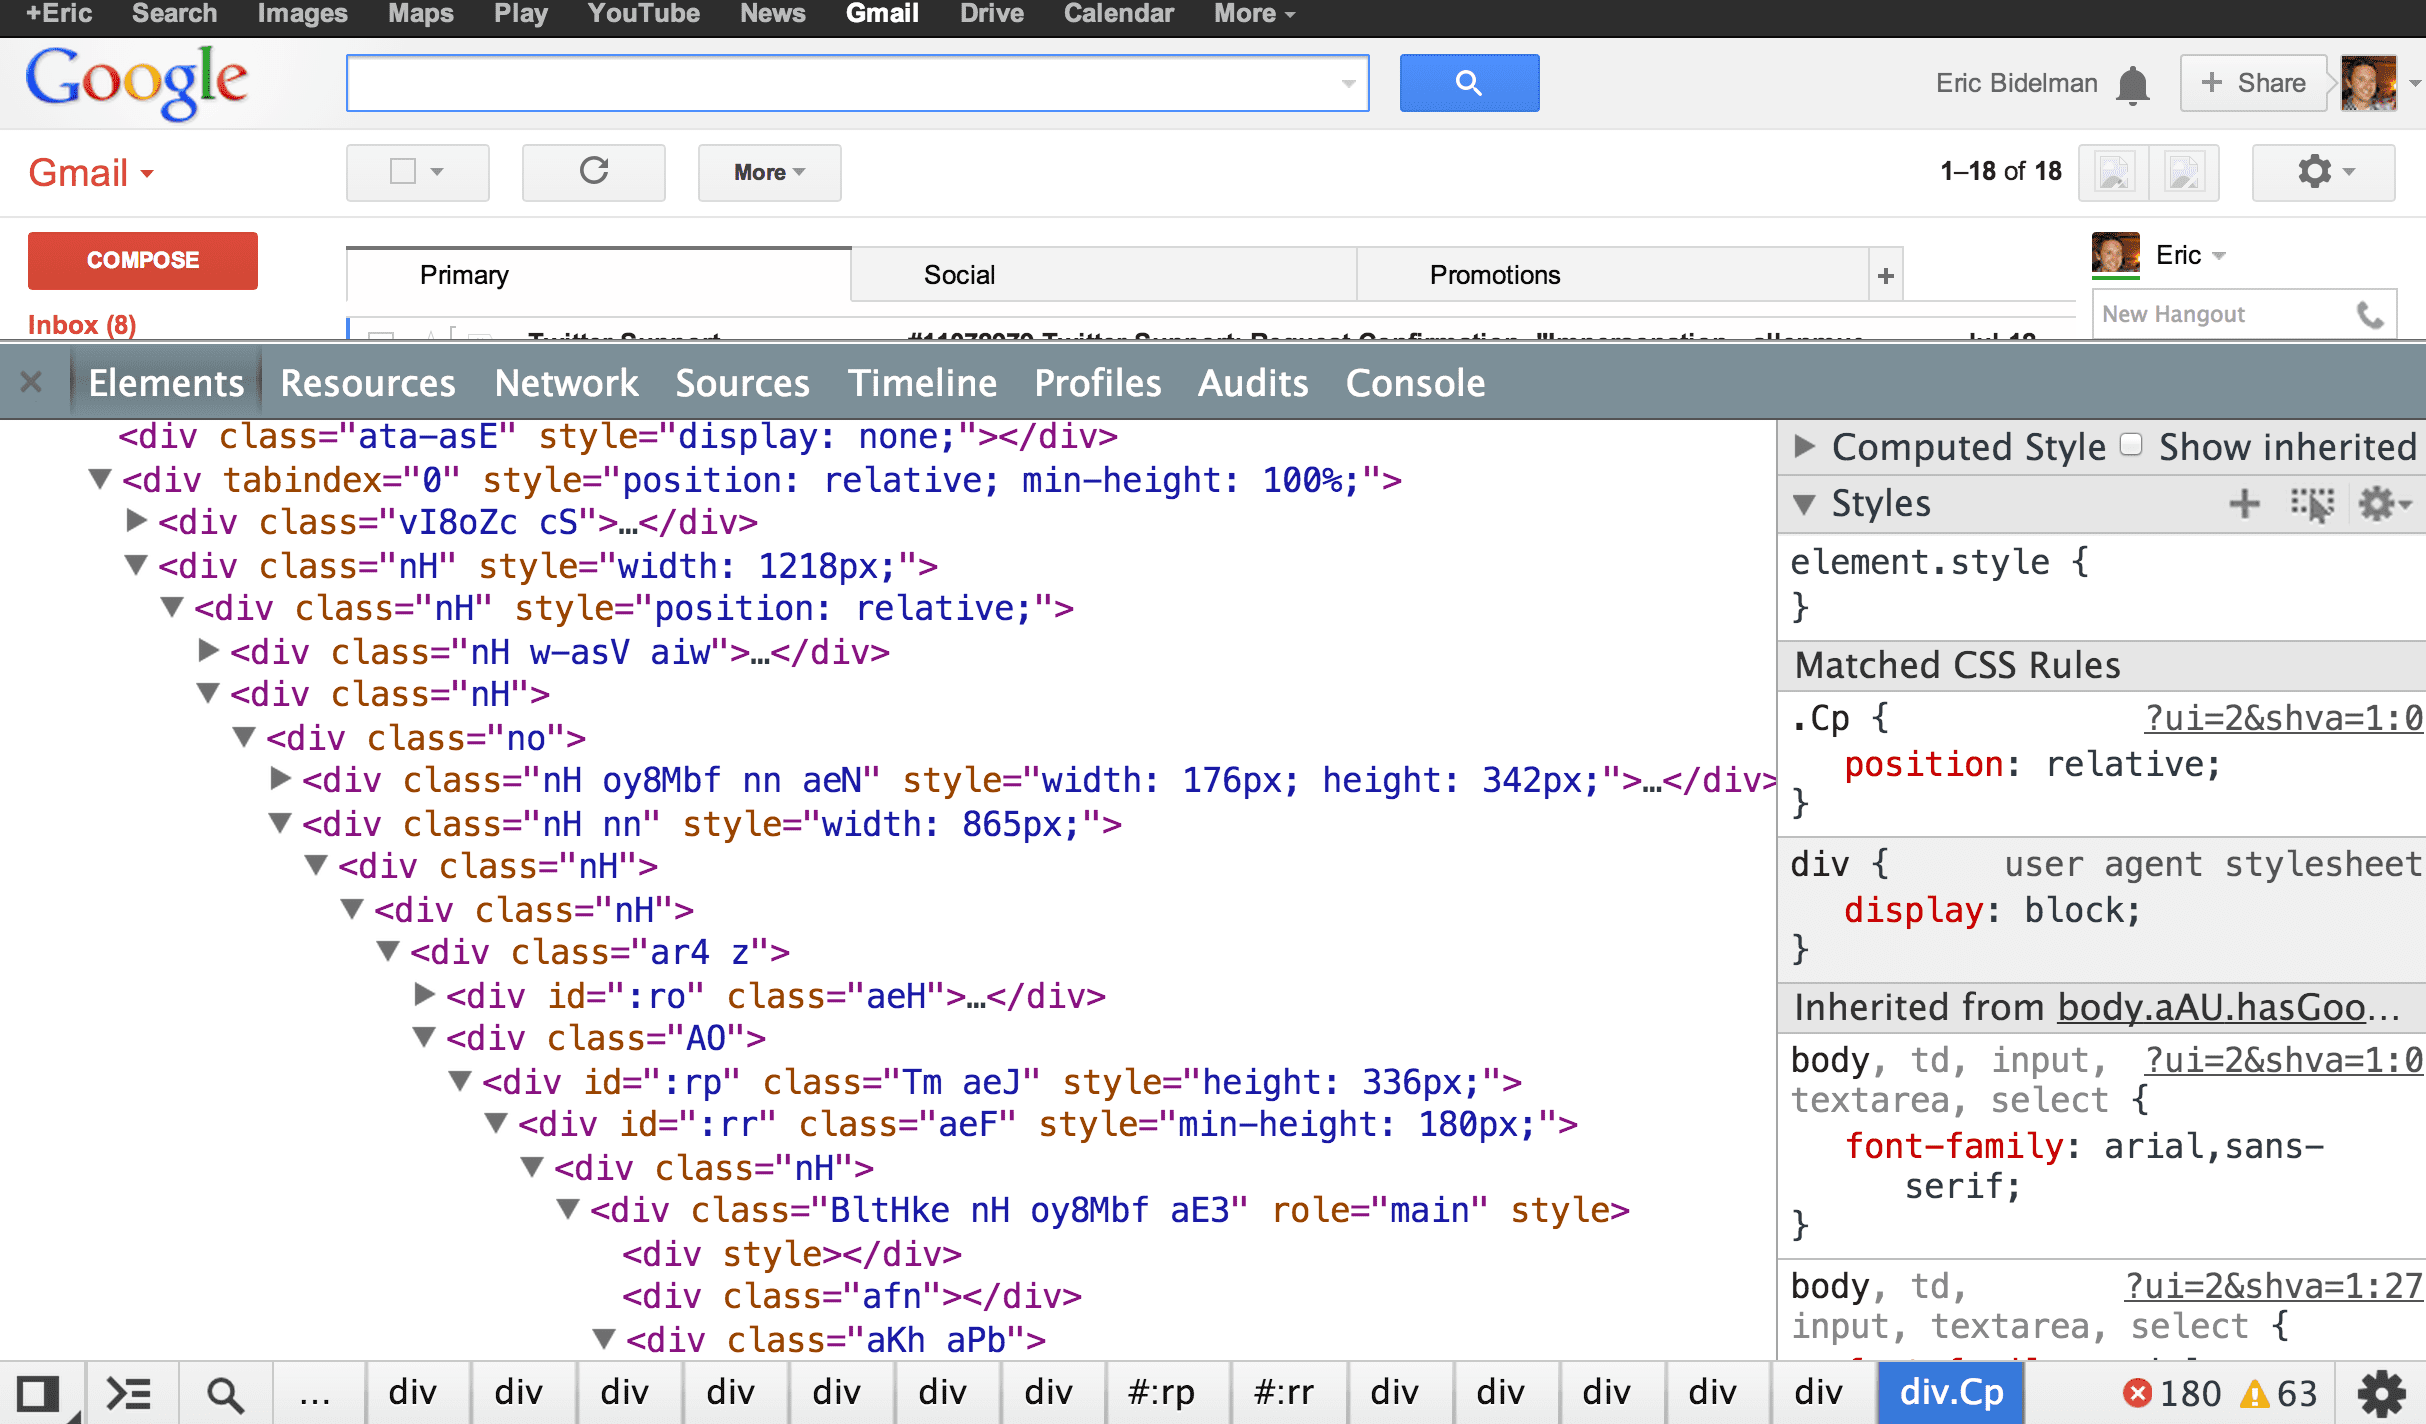
There's nothing modern about <div> soup. And yet, this is how we build web apps. It's sad.
Shouldn't we demand more from our platform?
Sexy markup. Let's make it a thing
HTML gives us an excellent tool for structuring a document but its vocabulary is limited to elements the HTML standard defines.
What if the markup for GMail wasn't atrocious? What if it was beautiful:
<hangout-module>
    <hangout-chat from="Paul, Addy">
    <hangout-discussion>
        <hangout-message from="Paul" profile="profile.png"
            profile="118075919496626375791" datetime="2013-07-17T12:02">
        <p>Feelin' this Web Components thing.
        <p>Heard of it?
        </hangout-message>
    </hangout-discussion>
    </hangout-chat>
    <hangout-chat>...</hangout-chat>
</hangout-module>
How refreshing! This app totally makes sense too. It's meaningful, easy to understand, and best of all, it's maintainable. Future me/you will know exactly what it does just by examining its declarative backbone.
Getting started
Custom Elements allow web developers to define new types of HTML elements. The spec is one of several new API primitives landing under the Web Components umbrella, but it's quite possibly the most important. Web Components don't exist without the features unlocked by custom elements:
- Define new HTML/DOM elements
- Create elements that extend from other elements
- Logically bundle together custom functionality into a single tag
- Extend the API of existing DOM elements
Registering new elements
Custom elements are created using document.registerElement():
var XFoo = document.registerElement('x-foo');
document.body.appendChild(new XFoo());
The first argument to document.registerElement() is the element's tag name.
The name must contain a dash (-). So for example, <x-tags>, <my-element>, and <my-awesome-app> are all valid names, while <tabs> and <foo_bar> are not. This restriction allows the parser
to distinguish custom elements from regular elements but also ensures forward
compatibility when new tags are added to HTML.
The second argument is an (optional) object describing the element's prototype.
This is the place to add custom functionality (e.g. public properties and methods) to your elements.
More on that later.
By default, custom elements inherit from HTMLElement. Thus, the previous example is equivalent to:
var XFoo = document.registerElement('x-foo', {
    prototype: Object.create(HTMLElement.prototype)
});
A call to document.registerElement('x-foo') teaches the browser about the new element,
and returns a constructor that you can use to create instances of <x-foo>.
Alternatively, you can use the other techniques of instantiating elements
if you don't want to use the constructor.
Extending elements
Custom elements allows you to extend existing (native) HTML elements as well as other
custom elements. To extend an element, you need to pass registerElement() the name
and prototype of the element to inherit from.
Extending native elements
Say you aren't happy with Regular Joe <button>. You'd like to
supercharge its capabilities to be a "Mega Button". To extend the <button> element,
create a new element that inherits the prototype of HTMLButtonElement and extends
the name of the element. In this case, "button":
var MegaButton = document.registerElement('mega-button', {
    prototype: Object.create(HTMLButtonElement.prototype),
    extends: 'button'
});
Custom elements that inherit from native elements are called type extension custom elements.
They inherit from a specialized version of HTMLElement as a way to say, "element X is a Y".
Example:
<button is="mega-button">
Extending a custom element
To create an <x-foo-extended> element that extends the <x-foo> custom element, simply inherit its prototype
and say what tag you're inheriting from:
var XFooProto = Object.create(HTMLElement.prototype);
...

var XFooExtended = document.registerElement('x-foo-extended', {
    prototype: XFooProto,
    extends: 'x-foo'
});
See Adding JS properties and methods below for more information on creating element prototypes.
How elements are upgraded
Have you ever wondered why the HTML parser doesn't throw a fit on non-standard tags?
For example, it's perfectly happy if we declare <randomtag> on the page. According to the HTML specification:
Sorry <randomtag>! You're non-standard and inherit from HTMLUnknownElement.
The same is not true for custom elements. Elements with valid custom element names inherit from HTMLElement. You can verify this fact by firing up the Console: Ctrl + Shift + J (or Cmd + Opt + J on Mac), and paste in the following lines of code; they return true:
// "tabs" is not a valid custom element name
document.createElement('tabs').__proto__ === HTMLUnknownElement.prototype

// "x-tabs" is a valid custom element name
document.createElement('x-tabs').__proto__ == HTMLElement.prototype
Unresolved elements
Because custom elements are registered by script using document.registerElement(), they can be
declared or created before their definition is registered by the browser. For example,
you can declare <x-tabs> on the page but end up invoking document.registerElement('x-tabs') much later.
Before elements are upgraded to their definition, they're called unresolved elements. These are HTML elements that have a valid custom element name but haven't been registered.
This table might help keep things straight:
| Name | Inherits from | Examples |
|---|---|---|
| Unresolved element | HTMLElement |
<x-tabs>, <my-element> |
| Unknown element | HTMLUnknownElement |
<tabs>, <foo_bar> |
Instantiating elements
The common techniques of creating elements still apply to custom elements. As with any standard element, they can be declared in HTML or created in DOM using JavaScript.
Instantiating custom tags
Declare them:
<x-foo></x-foo>
Create DOM in JS:
var xFoo = document.createElement('x-foo');
xFoo.addEventListener('click', function(e) {
    alert('Thanks!');
});
Use the new operator:
var xFoo = new XFoo();
document.body.appendChild(xFoo);
Instantiating type extension elements
Instantiating type extension-style custom elements is strikingly close to custom tags.
Declare them:
<!-- <button> "is a" mega button -->
<button is="mega-button">
Create DOM in JS:
var megaButton = document.createElement('button', 'mega-button');
// megaButton instanceof MegaButton === true
As you can see, there's now an overloaded version of document.createElement()
that takes the is="" attribute as its second parameter.
Use the new operator:
var megaButton = new MegaButton();
document.body.appendChild(megaButton);
So far, we've learned how to use document.registerElement() to tell the browser about a new tag…but
it doesn't do much. Let's add properties and methods.
Adding JS properties and methods
The powerful thing about custom elements is that you can bundle tailored functionality with the element by defining properties and methods on the element definition. Think of this as a way to create a public API for your element.
Here's a full example:
var XFooProto = Object.create(HTMLElement.prototype);

// 1. Give x-foo a foo() method.
XFooProto.foo = function() {
    alert('foo() called');
};

// 2. Define a property read-only "bar".
Object.defineProperty(XFooProto, "bar", {value: 5});

// 3. Register x-foo's definition.
var XFoo = document.registerElement('x-foo', {prototype: XFooProto});

// 4. Instantiate an x-foo.
var xfoo = document.createElement('x-foo');

// 5. Add it to the page.
document.body.appendChild(xfoo);
Of course there are umpteen thousand ways to construct a prototype. If you're not
a fan of creating prototypes like this, here's a more condensed version of the same thing:
var XFoo = document.registerElement('x-foo', {
  prototype: Object.create(HTMLElement.prototype, {
    bar: {
      get: function () {
        return 5;
      }
    },
    foo: {
      value: function () {
        alert('foo() called');
      }
    }
  })
});
The first format allows for the use of ES5 Object.defineProperty. The second allows the use of get/set.
Lifecycle callback methods
Elements can define special methods for tapping into interesting times of their existence. These methods are appropriately named the lifecycle callbacks. Each has a specific name and purpose:
| Callback name | Called when |
|---|---|
| createdCallback | an instance of the element is created |
| attachedCallback | an instance was inserted into the document |
| detachedCallback | an instance was removed from the document |
| attributeChangedCallback(attrName, oldVal, newVal) | an attribute was added, removed, or updated |
Example: defining createdCallback() and attachedCallback() on <x-foo>:
var proto = Object.create(HTMLElement.prototype);

proto.createdCallback = function() {...};
proto.attachedCallback = function() {...};

var XFoo = document.registerElement('x-foo', {prototype: proto});
All of the lifecycle callbacks are optional, but define them if/when it makes sense.
For example, say your element is sufficiently complex and opens a connection to IndexedDB
in createdCallback(). Before it gets removed from the DOM, do the necessary
cleanup work in detachedCallback(). Note: you shouldn't rely on this,
for example, if the user closes the tab, but think of it as a possible optimization hook.
Another use case lifecycle callbacks is for setting up default event listeners on the element:
proto.createdCallback = function() {
  this.addEventListener('click', function(e) {
    alert('Thanks!');
  });
};
Adding markup
We've created <x-foo>, given it a JavaScript API, but it's blank! Shall we
give it some HTML to render?
Lifecycle callbacks come in handy here. Particularly, we can use
createdCallback() to endow an element with some default HTML:
var XFooProto = Object.create(HTMLElement.prototype);

XFooProto.createdCallback = function() {
    this.innerHTML = "**I'm an x-foo-with-markup!**";
};

var XFoo = document.registerElement('x-foo-with-markup', {prototype: XFooProto});
Instantiating this tag and inspecting in the DevTools (right-click, select Inspect Element) should show:
▾<x-foo-with-markup>
  **I'm an x-foo-with-markup!**
</x-foo-with-markup>
Encapsulating the internals in Shadow DOM
By itself, Shadow DOM is a powerful tool for encapsulating content. Use it in conjunction with custom elements and things get magical!
Shadow DOM gives custom elements:
- A way to hide their guts, thus shielding users from gory implementation details.
- Style encapsulation…fo' free.
Creating an element from Shadow DOM is like creating one that
renders basic markup. The difference is in createdCallback():
var XFooProto = Object.create(HTMLElement.prototype);

XFooProto.createdCallback = function() {
    // 1. Attach a shadow root on the element.
    var shadow = this.createShadowRoot();

    // 2. Fill it with markup goodness.
    shadow.innerHTML = "**I'm in the element's Shadow DOM!**";
};

var XFoo = document.registerElement('x-foo-shadowdom', {prototype: XFooProto});
Instead of setting the element's .innerHTML, I've created a
Shadow Root for <x-foo-shadowdom> and then filled it with markup.
With the "Show Shadow DOM" setting enabled in the DevTools, you'll see a
#shadow-root that can be expanded:
▾<x-foo-shadowdom>
  ▾#shadow-root
    **I'm in the element's Shadow DOM!**
</x-foo-shadowdom>
That's the Shadow Root!
Creating elements from a template
HTML Templates are another new API primitive that fits nicely into the world of custom elements.
Example: registering an element created from a <template> and Shadow DOM:
<template id="sdtemplate">
<style>
p { color: orange; }
</style>
<p>I'm in Shadow DOM. My markup was stamped from a <template>.
</template>
<script>
var proto = Object.create(HTMLElement.prototype, {
createdCallback: {
value: function() {
var t = document.querySelector('#sdtemplate');
var clone = document.importNode(t.content, true);
this.createShadowRoot().appendChild(clone);
}
}
});
document.registerElement('x-foo-from-template', {prototype: proto});
</script>
<template id="sdtemplate">
<style>:host p { color: orange; }</style>
<p>I'm in Shadow DOM. My markup was stamped from a <template>.
</template>
<div class="demoarea">
<x-foo-from-template></x-foo-from-template>
</div>
These few lines of code pack a lot of punch. Let's understanding everything that is happening:
- We've registered a new element in HTML:
<x-foo-from-template> - The element's DOM was created from a
<template> - The element's scary details are hidden away using Shadow DOM
- Shadow DOM gives the element style encapsulation (e.g.
p {color: orange;}isn't turning the entire page orange)
So good!
Styling custom elements
As with any HTML tag, users of your custom tag can style it with selectors:
<style>
  app-panel {
    display: flex;
  }
  [is="x-item"] {
    transition: opacity 400ms ease-in-out;
    opacity: 0.3;
    flex: 1;
    text-align: center;
    border-radius: 50%;
  }
  [is="x-item"]:hover {
    opacity: 1.0;
    background: rgb(255, 0, 255);
    color: white;
  }
  app-panel > [is="x-item"] {
    padding: 5px;
    list-style: none;
    margin: 0 7px;
  }
</style>

<app-panel>
    <li is="x-item">Do</li>
    <li is="x-item">Re</li>
    <li is="x-item">Mi</li>
</app-panel>
Styling elements that use Shadow DOM
The rabbit hole goes much much deeper when you bring Shadow DOM into the mix. Custom elements that use Shadow DOM inherit its great benefits.
Shadow DOM infuses an element with style encapsulation. Styles defined in a Shadow Root don't leak out of the host and don't bleed in from the page. In the case of a custom element, the element itself is the host. The properties of style encapsulation also allow custom elements to define default styles for themselves.
Shadow DOM styling is a huge topic! If you want to learn more about it, I recommend a few of my other articles:
- "A Guide to Styling Elements" on Polymer's documentation.
- "Shadow DOM 201: CSS & Styling" here.
FOUC prevention using :unresolved
To mitigate FOUC, custom elements spec
out a new CSS pseudo class, :unresolved. Use it to target unresolved elements,
right up until the point where the browser invokes your createdCallback() (see lifecycle methods).
Once that happens, the element is no longer an unresolved element. The upgrade process is
complete and the element has transformed into its definition.
Example: fade in "x-foo" tags when they're registered:
<style>
  x-foo {
    opacity: 1;
    transition: opacity 300ms;
  }
  x-foo:unresolved {
    opacity: 0;
  }
</style>
Keep in mind that :unresolved only applies to unresolved elements,
not to elements that inherit from HTMLUnknownElement (see How elements are upgraded).
<style>
  /* apply a dashed border to all unresolved elements */
  :unresolved {
    border: 1px dashed red;
    display: inline-block;
  }
  /* x-panel's that are unresolved are red */
  x-panel:unresolved {
    color: red;
  }
  /* once the definition of x-panel is registered, it becomes green */
  x-panel {
    color: green;
    display: block;
    padding: 5px;
    display: block;
  }
</style>

<panel>
    I'm black because :unresolved doesn't apply to "panel".
    It's not a valid custom element name.
</panel>

<x-panel>I'm red because I match x-panel:unresolved.</x-panel>
History and browser support
Feature detection
Feature detecting is a matter of checking if document.registerElement() exists:
function supportsCustomElements() {
    return 'registerElement' in document;
}

if (supportsCustomElements()) {
    // Good to go!
} else {
    // Use other libraries to create components.
}
Browser support
document.registerElement() first started landing behind a flag in Chrome 27 and Firefox ~23. However, the specification has evolved quite a bit since then. Chrome 31 is the first to have
true support for the updated spec.
Until browser support is stellar, there's a polyfill which is used by Google's Polymer and Mozilla's X-Tag.
What happened to HTMLElementElement?
For those that have followed the standardization work, you know there was once <element>.
It was the bees knees. You could use it to declaratively register new elements:
<element name="my-element">
    ...
</element>
Unfortunately, there were too many timing issues with the upgrade process,
corner cases, and Armageddon-like scenarios to work it all out. <element> had to be shelved. In August 2013, Dimitri Glazkov posted to public-webapps announcing its removal, at least for now.
It's worth noting that Polymer implements a declarative form of element registration
with <polymer-element>. How? It uses document.registerElement('polymer-element') and
the techniques I described in Creating elements from a template.
Conclusion
Custom elements give us the tool to extend HTML's vocabulary, teach it new tricks,
and jump through the wormholes of the web platform. Combine them with the other
new platform primitives like Shadow DOM and <template>, and we start to realize
the picture of Web Components. Markup can be sexy again!
If you're interested in getting started with web components, I recommend checking out Polymer. It's got more than enough to get you going.