Veröffentlicht: 24. September 2020
Was haben die Google Assistant App, die Slack App, die Zoom App und fast alle anderen plattformspezifischen Apps auf Ihrem Smartphone oder Computer gemeinsam? Genau, sie geben dir immer irgendwas. Auch wenn Sie keine Netzwerkverbindung haben, können Sie die Assistant App öffnen, Slack aufrufen oder Zoom starten. Möglicherweise erhalten Sie nichts besonders Sinnvolles oder können nicht einmal das erreichen, was Sie wollten, aber zumindest erhalten Sie etwas und die App hat die Kontrolle.
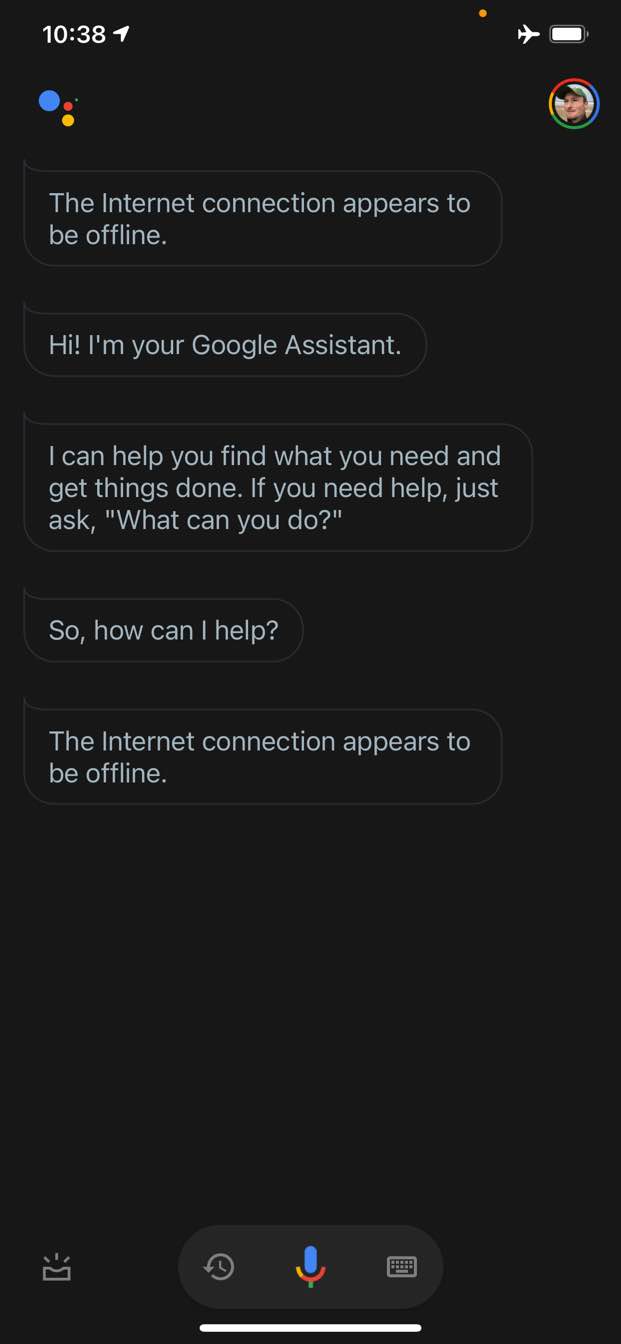
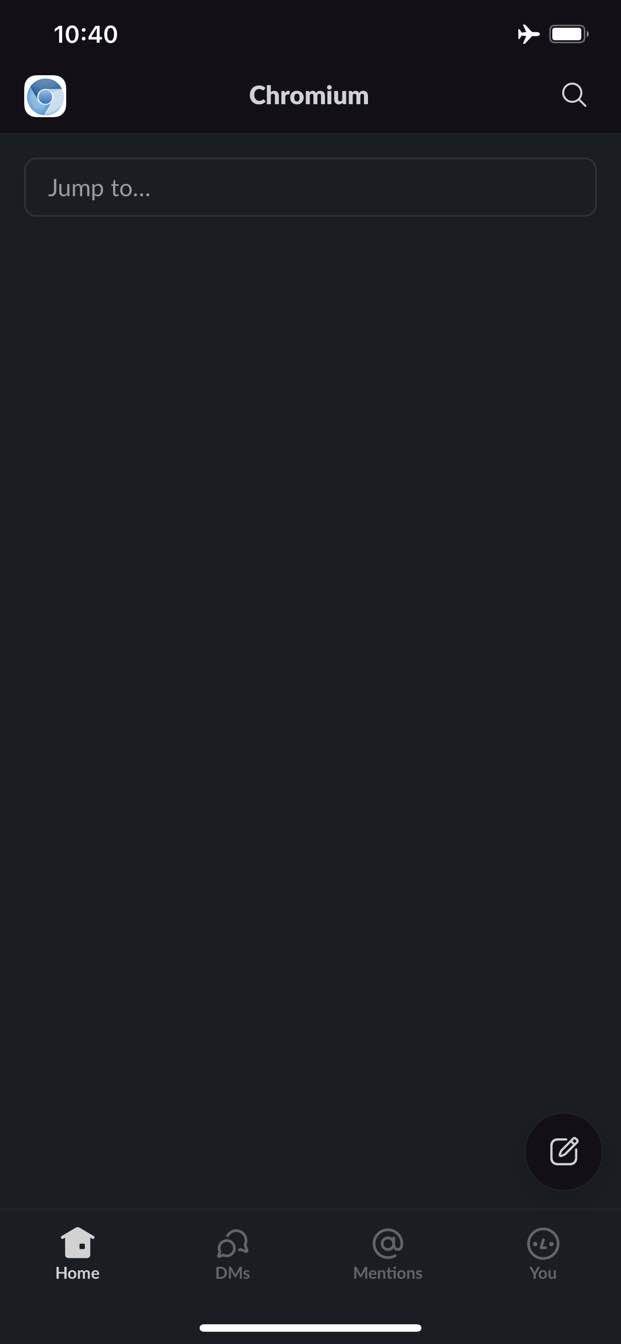
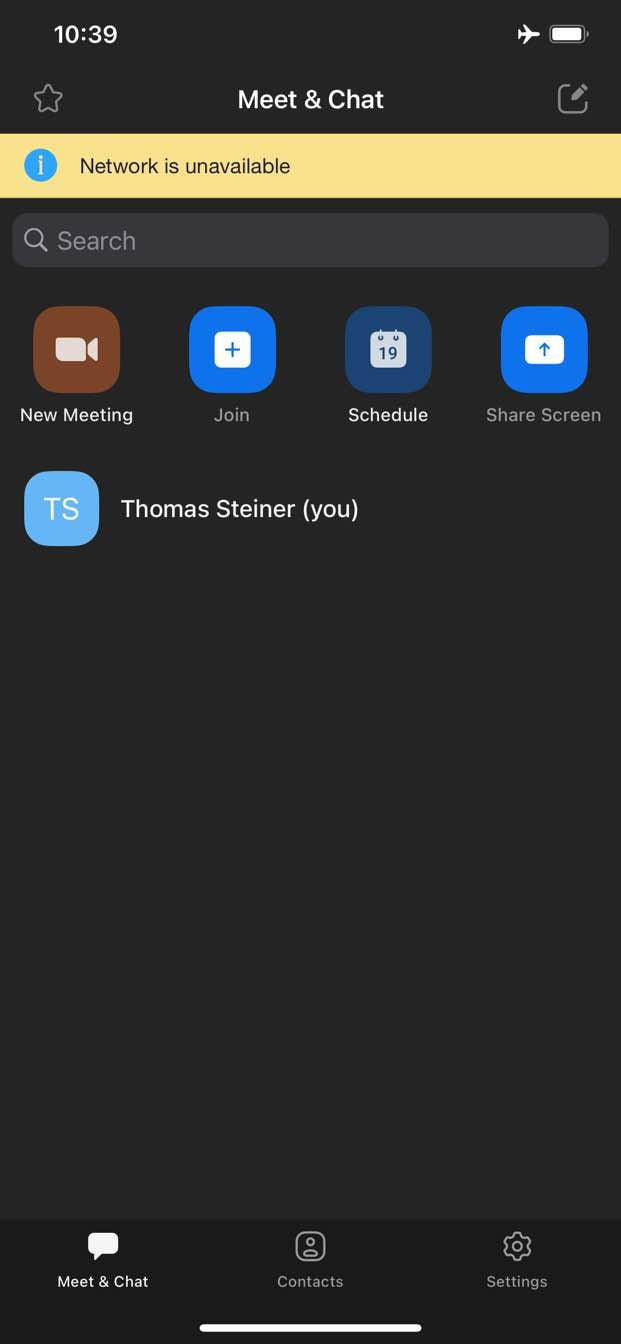
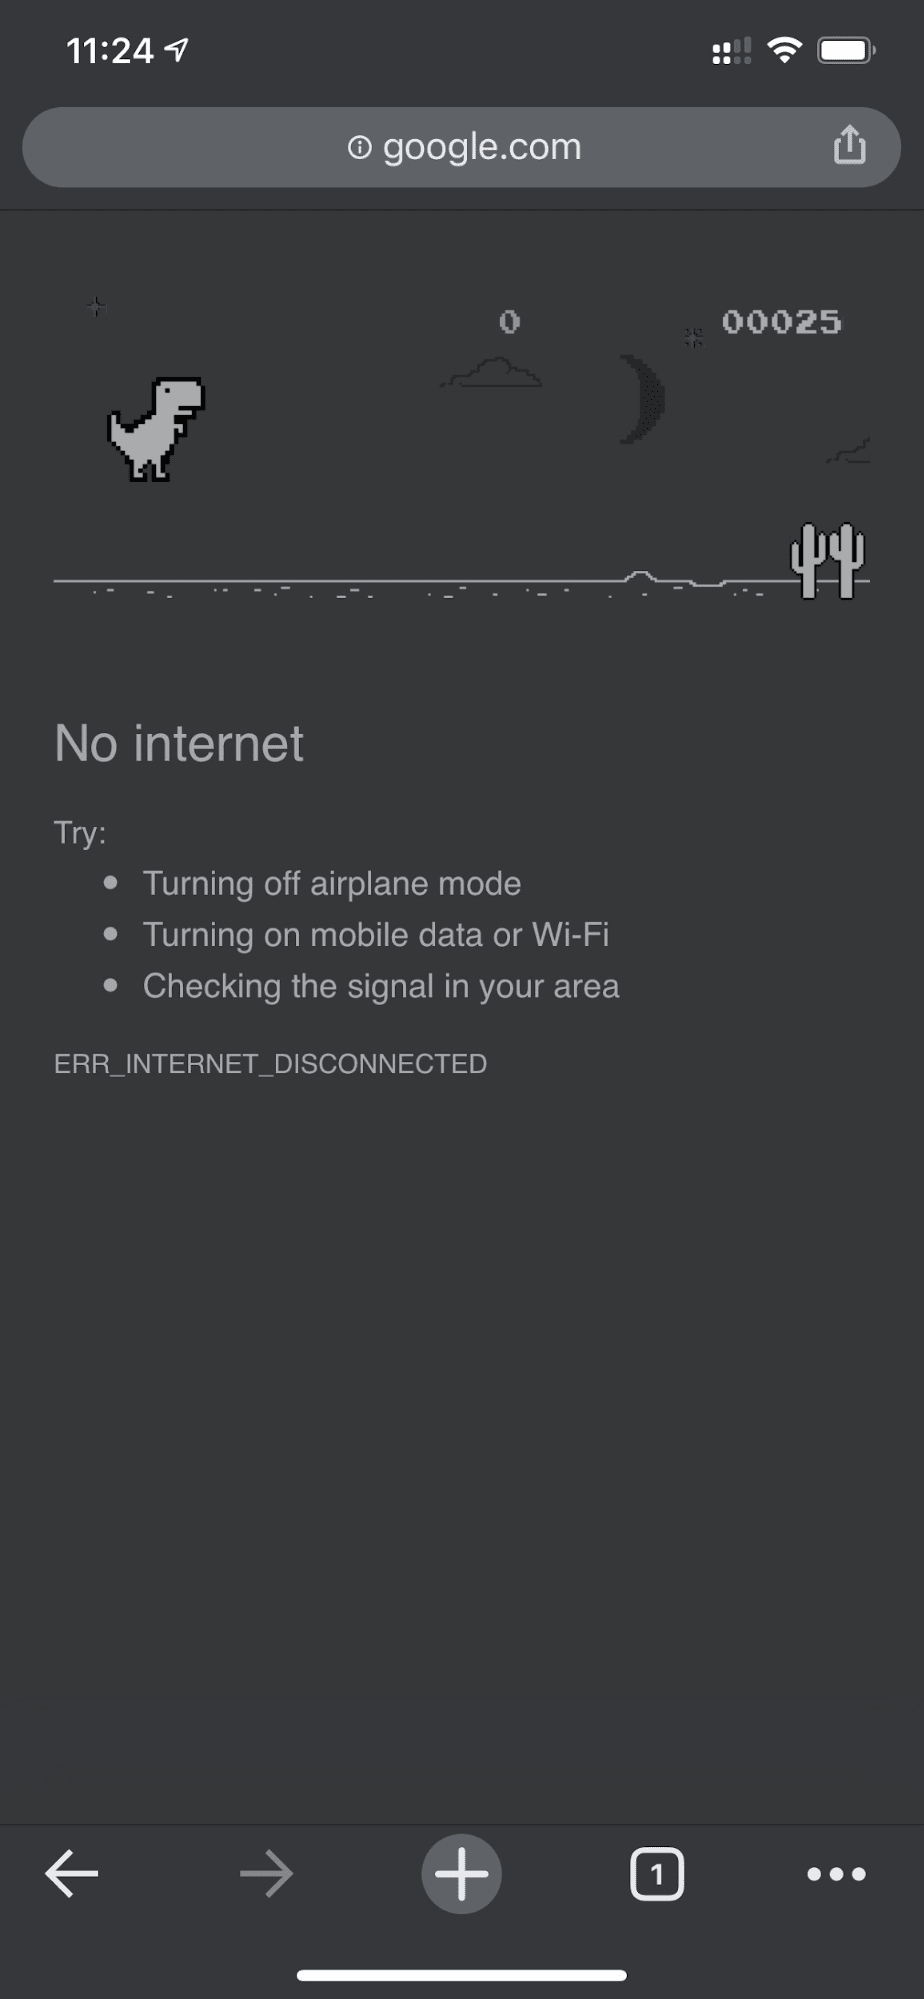
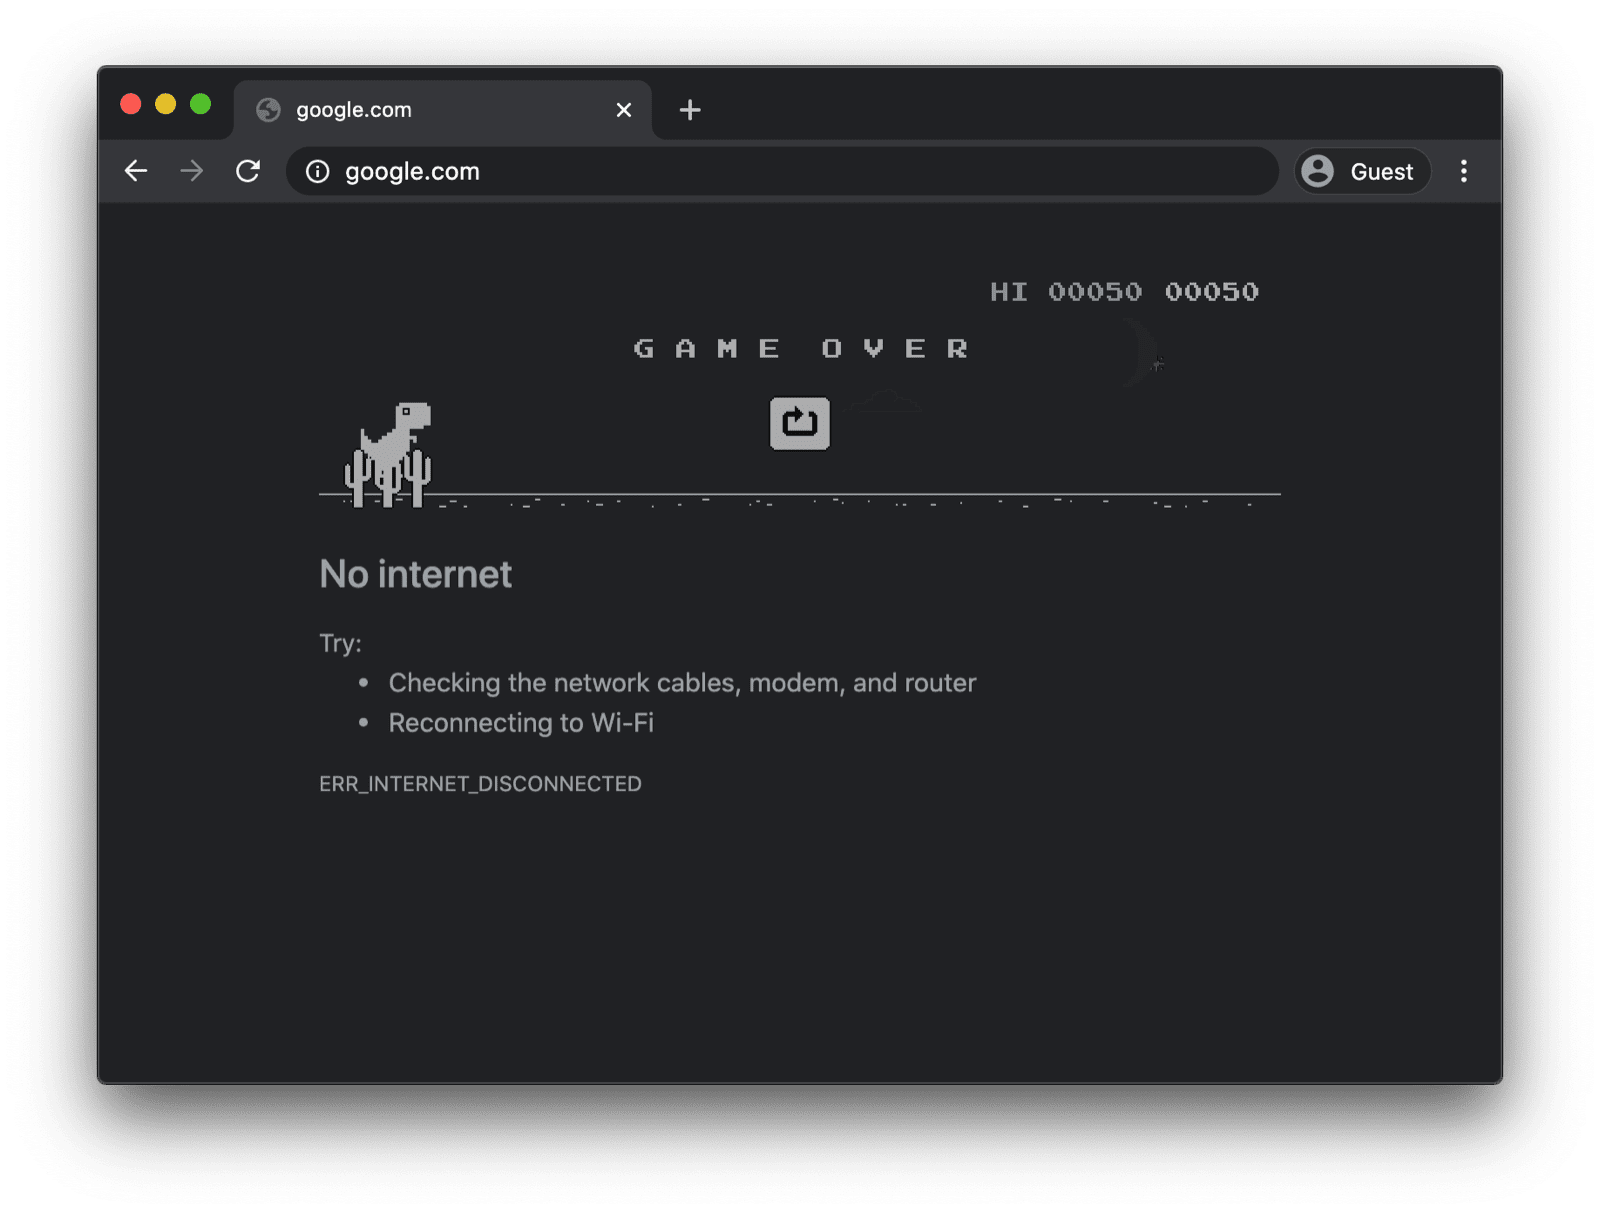
Im Gegensatz dazu erhalten Sie im Web normalerweise nichts, wenn Sie offline sind. Chrome bietet Ihnen das Offline-Dinosaurierspiel, aber das war es auch schon.
Eine Offline-Fallbackseite mit einem benutzerdefinierten Service Worker
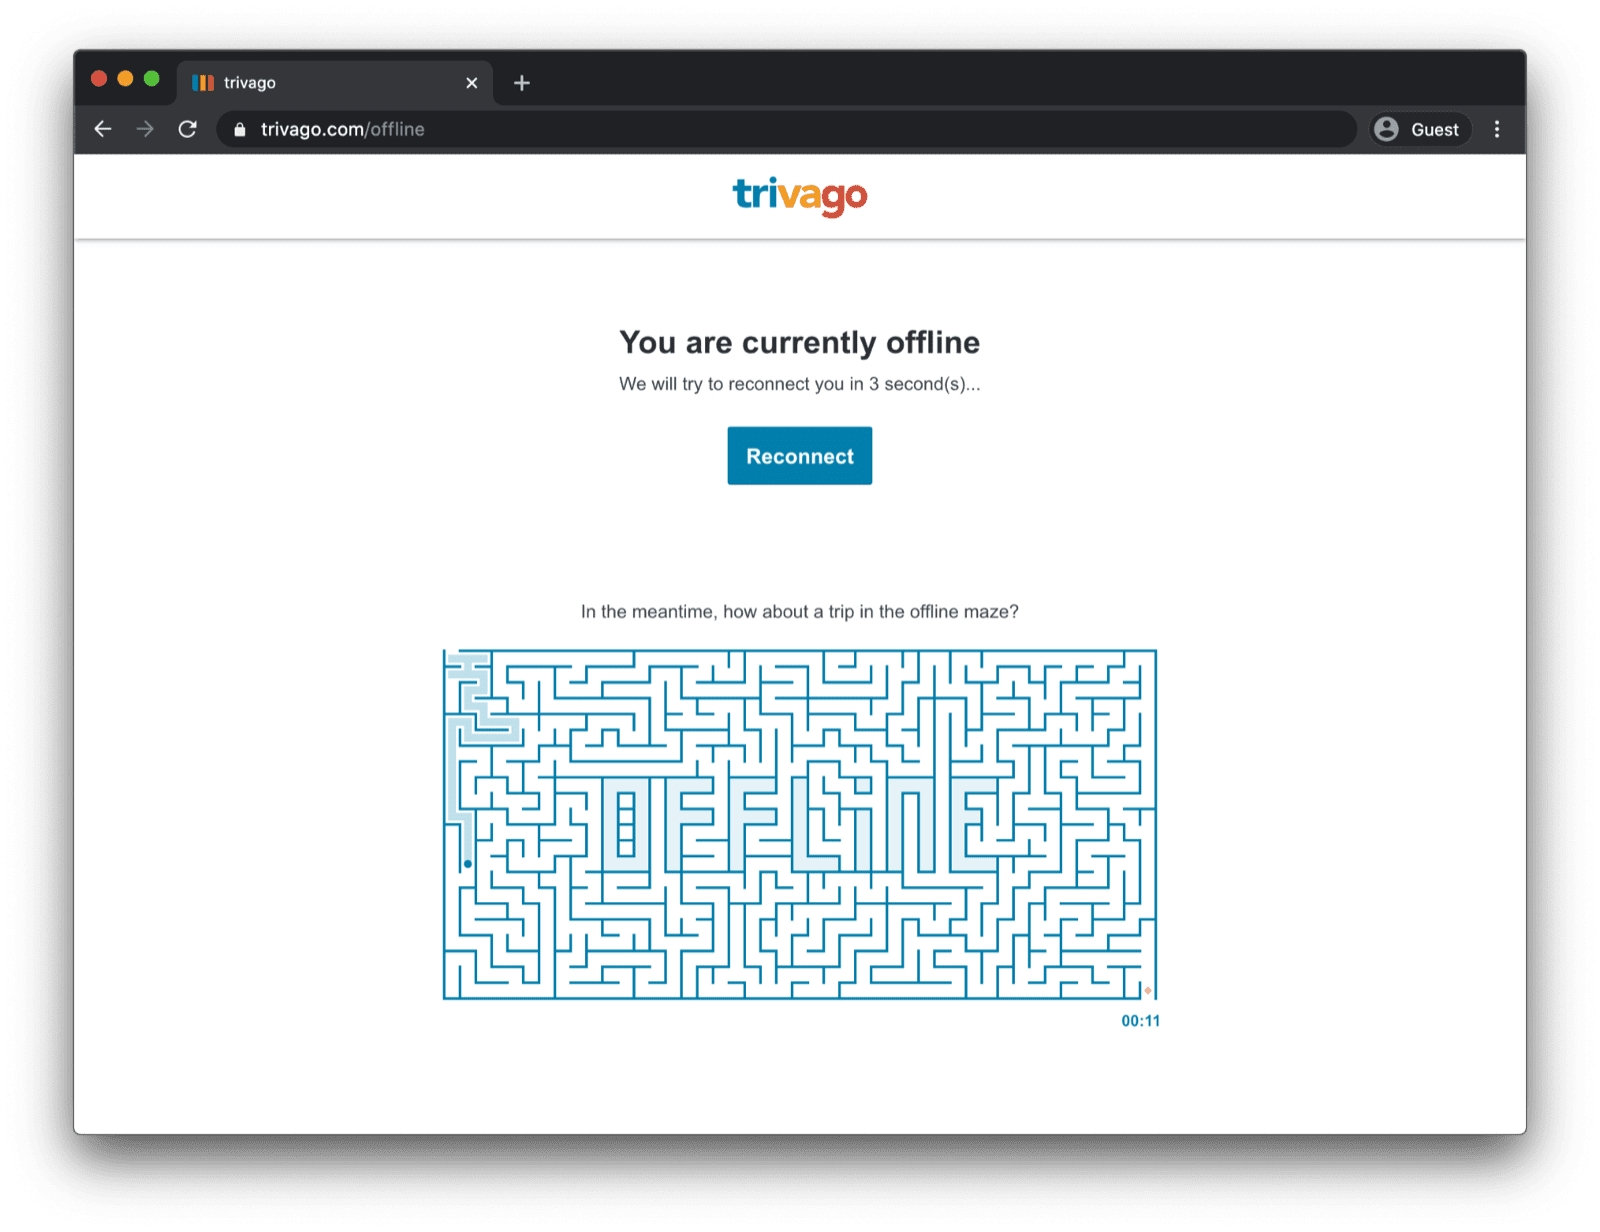
Das muss aber nicht so sein. Dank Service-Workern und der Cache Storage API können Sie Ihren Nutzern eine benutzerdefinierte Offline-Erfahrung bieten. Das kann eine einfache Markenseite mit der Information sein, dass der Nutzer derzeit offline ist. Es kann aber auch eine kreativere Lösung sein, wie z. B. das berühmte Offline-Labyrinthspiel von Trivago mit einer manuellen Schaltfläche Wieder verbinden und einem Countdown für den automatischen Verbindungsversuch.
Service Worker registrieren
Das funktioniert über einen Service Worker. Sie können einen Service Worker auf Ihrer Hauptseite registrieren, wie im folgenden Codebeispiel gezeigt. Normalerweise erfolgt dies, sobald Ihre App geladen wurde.
window.addEventListener("load", () => {
  if ("serviceWorker" in navigator) {
    navigator.serviceWorker.register("service-worker.js");
  }
});
Der Service Worker-Code
Der Inhalt der eigentlichen Service Worker-Datei mag auf den ersten Blick etwas kompliziert erscheinen, aber die Kommentare im Beispiel unten sollten für Klarheit sorgen. Die grundlegende Idee besteht darin, eine Datei namens offline.html vorab im Cache zu speichern, die nur bei fehlgeschlagenen Navigationsanfragen bereitgestellt wird. Alle anderen Fälle werden vom Browser verarbeitet:
/*
Copyright 2015, 2019, 2020, 2021 Google LLC. All Rights Reserved.
 Licensed under the Apache License, Version 2.0 (the "License");
 you may not use this file except in compliance with the License.
 You may obtain a copy of the License at
 http://www.apache.org/licenses/LICENSE-2.0
 Unless required by applicable law or agreed to in writing, software
 distributed under the License is distributed on an "AS IS" BASIS,
 WITHOUT WARRANTIES OR CONDITIONS OF ANY KIND, either express or implied.
 See the License for the specific language governing permissions and
 limitations under the License.
*/

// Incrementing OFFLINE_VERSION will kick off the install event and force
// previously cached resources to be updated from the network.
// This variable is intentionally declared and unused.
// Add a comment for your linter if you want:
// eslint-disable-next-line no-unused-vars
const OFFLINE_VERSION = 1;
const CACHE_NAME = "offline";
// Customize this with a different URL if needed.
const OFFLINE_URL = "offline.html";

self.addEventListener("install", (event) => {
  event.waitUntil(
    (async () => {
      const cache = await caches.open(CACHE_NAME);
      // Setting {cache: 'reload'} in the new request ensures that the
      // response isn't fulfilled from the HTTP cache; i.e., it will be
      // from the network.
      await cache.add(new Request(OFFLINE_URL, { cache: "reload" }));
    })()
  );
  // Force the waiting service worker to become the active service worker.
  self.skipWaiting();
});

self.addEventListener("activate", (event) => {
  event.waitUntil(
    (async () => {
      // Enable navigation preload if it's supported.
      // See https://developers.google.com/web/updates/2017/02/navigation-preload
      if ("navigationPreload" in self.registration) {
        await self.registration.navigationPreload.enable();
      }
    })()
  );

  // Tell the active service worker to take control of the page immediately.
  self.clients.claim();
});

self.addEventListener("fetch", (event) => {
  // Only call event.respondWith() if this is a navigation request
  // for an HTML page.
  if (event.request.mode === "navigate") {
    event.respondWith(
      (async () => {
        try {
          // First, try to use the navigation preload response if it's
          // supported.
          const preloadResponse = await event.preloadResponse;
          if (preloadResponse) {
            return preloadResponse;
          }

          // Always try the network first.
          const networkResponse = await fetch(event.request);
          return networkResponse;
        } catch (error) {
          // catch is only triggered if an exception is thrown, which is
          // likely due to a network error.
          // If fetch() returns a valid HTTP response with a response code in
          // the 4xx or 5xx range, the catch() will NOT be called.
          console.log("Fetch failed; returning offline page instead.", error);

          const cache = await caches.open(CACHE_NAME);
          const cachedResponse = await cache.match(OFFLINE_URL);
          return cachedResponse;
        }
      })()
    );
  }

  // If our if() condition is false, then this fetch handler won't
  // intercept the request. If there are any other fetch handlers
  // registered, they will get a chance to call event.respondWith().
  // If no fetch handlers call event.respondWith(), the request
  // will be handled by the browser as if there were no service
  // worker involvement.
});
Die Offline-Fallbackseite
In der Datei offline.html können Sie kreativ werden und sie an Ihre Bedürfnisse anpassen und Ihr Branding hinzufügen. Das folgende Beispiel zeigt das absolute Minimum, was möglich ist.
Es wird sowohl das manuelle Neuladen durch Drücken einer Schaltfläche als auch das automatische Neuladen basierend auf dem online-Ereignis und dem regelmäßigen Server-Polling demonstriert.
<!DOCTYPE html>
<html lang="en">
  <head>
    <meta charset="utf-8" />
    <meta http-equiv="X-UA-Compatible" content="IE=edge" />
    <meta name="viewport" content="width=device-width, initial-scale=1" />

    <title>You are offline</title>

    <!-- Inline the page's stylesheet. -->
    <style>
      body {
        font-family: helvetica, arial, sans-serif;
        margin: 2em;
      }

      h1 {
        font-style: italic;
        color: #373fff;
      }

      p {
        margin-block: 1rem;
      }

      button {
        display: block;
      }
    </style>
  </head>
  <body>
    <h1>You are offline</h1>

    <p>Click the button below to try reloading.</p>
    <button type="button">⤾ Reload</button>

    <!-- Inline the page's JavaScript file. -->
    <script>
      // Manual reload feature.
      document.querySelector("button").addEventListener("click", () => {
        window.location.reload();
      });

      // Listen to changes in the network state, reload when online.
      // This handles the case when the device is completely offline.
      window.addEventListener('online', () => {
        window.location.reload();
      });

      // Check if the server is responding and reload the page if it is.
      // This handles the case when the device is online, but the server
      // is offline or misbehaving.
      async function checkNetworkAndReload() {
        try {
          const response = await fetch('.');
          // Verify we get a valid response from the server
          if (response.status >= 200 && response.status < 500) {
            window.location.reload();
            return;
          }
        } catch {
          // Unable to connect to the server, ignore.
        }
        window.setTimeout(checkNetworkAndReload, 2500);
      }

      checkNetworkAndReload();
    </script>
  </body>
</html>
Demo
In der Demo unten sehen Sie die Offline-Fallbackseite in Aktion. Wenn Sie daran interessiert sind, können Sie sich den Quellcode auf GitHub ansehen.
Hinweis zur Installation Ihrer App
Nachdem Ihre Website nun über eine Offline-Fallbackseite verfügt, fragen Sie sich vielleicht, wie es weitergeht. Damit Ihre App installiert werden kann, müssen Sie ein Web-App-Manifest hinzufügen und optional eine Installationsstrategie entwickeln.
Hinweis zum Bereitstellen einer Offline-Fallbackseite mit Workbox.js
Vielleicht haben Sie schon von Workbox gehört. Workbox ist eine Sammlung von JavaScript-Bibliotheken, mit denen Web-Apps Offlineunterstützung erhalten. Wenn Sie lieber weniger Service Worker-Code selbst schreiben möchten, können Sie das Workbox-Rezept für eine reine Offline-Seite verwenden.
Als Nächstes erfahren Sie, wie Sie eine Installationsstrategie für Ihre App definieren.


