


Publié le 24 septembre 2020
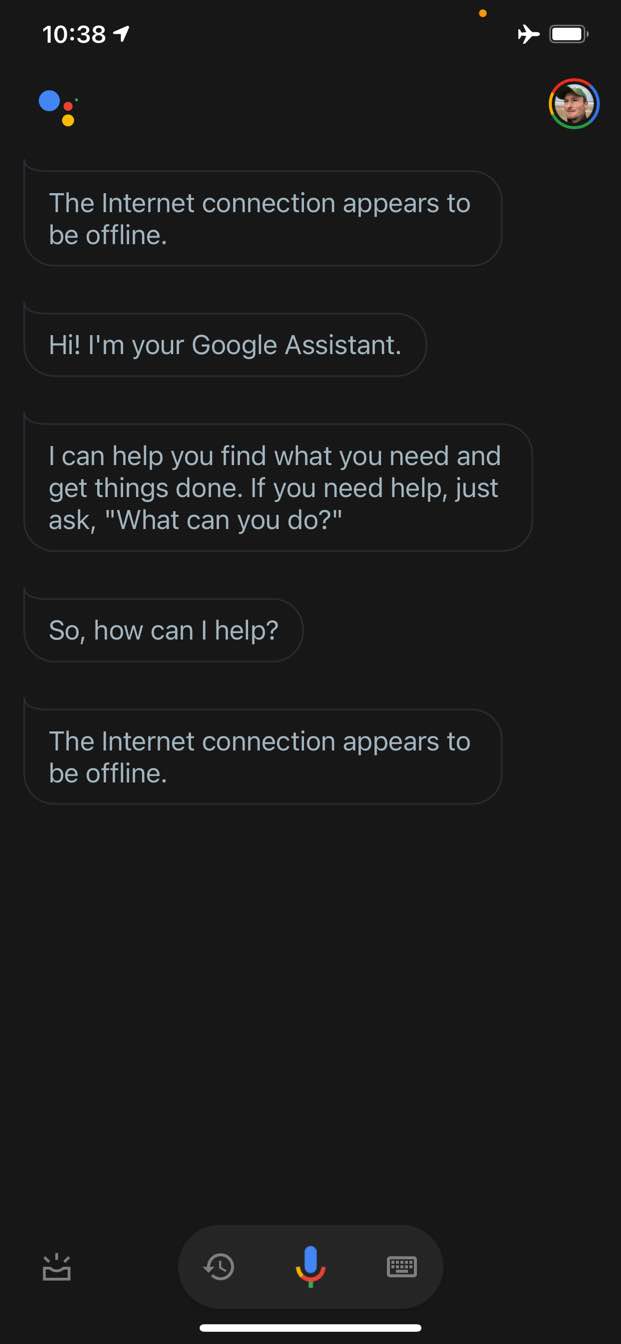
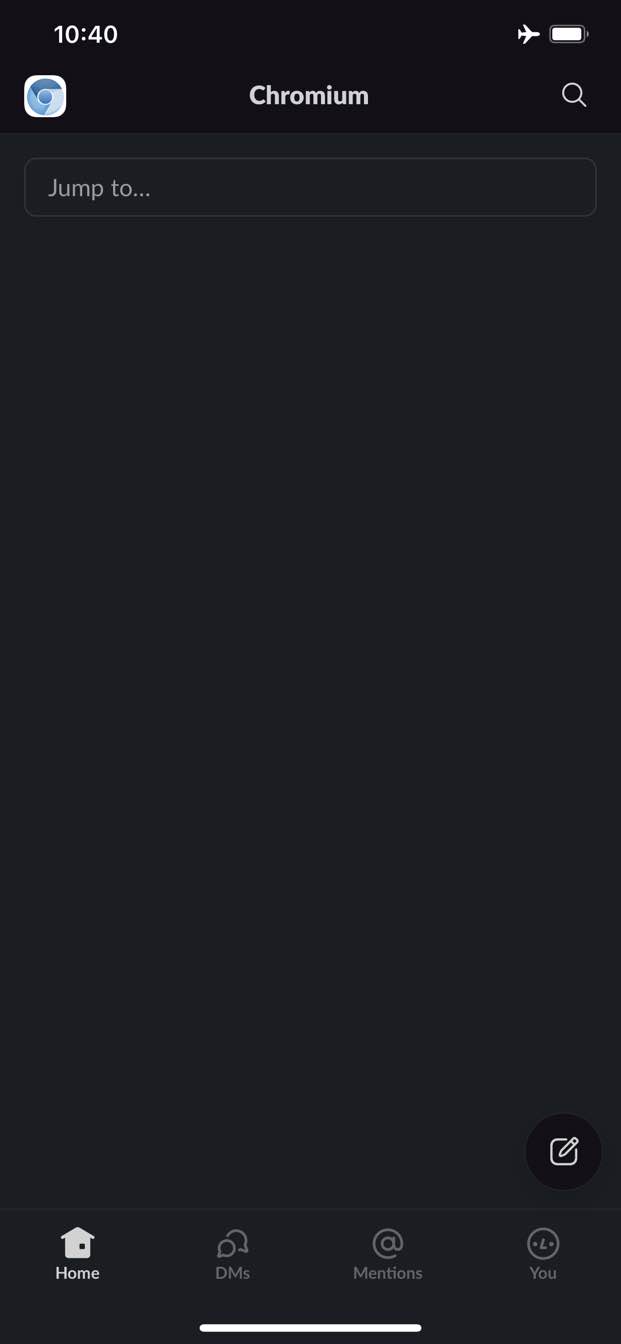
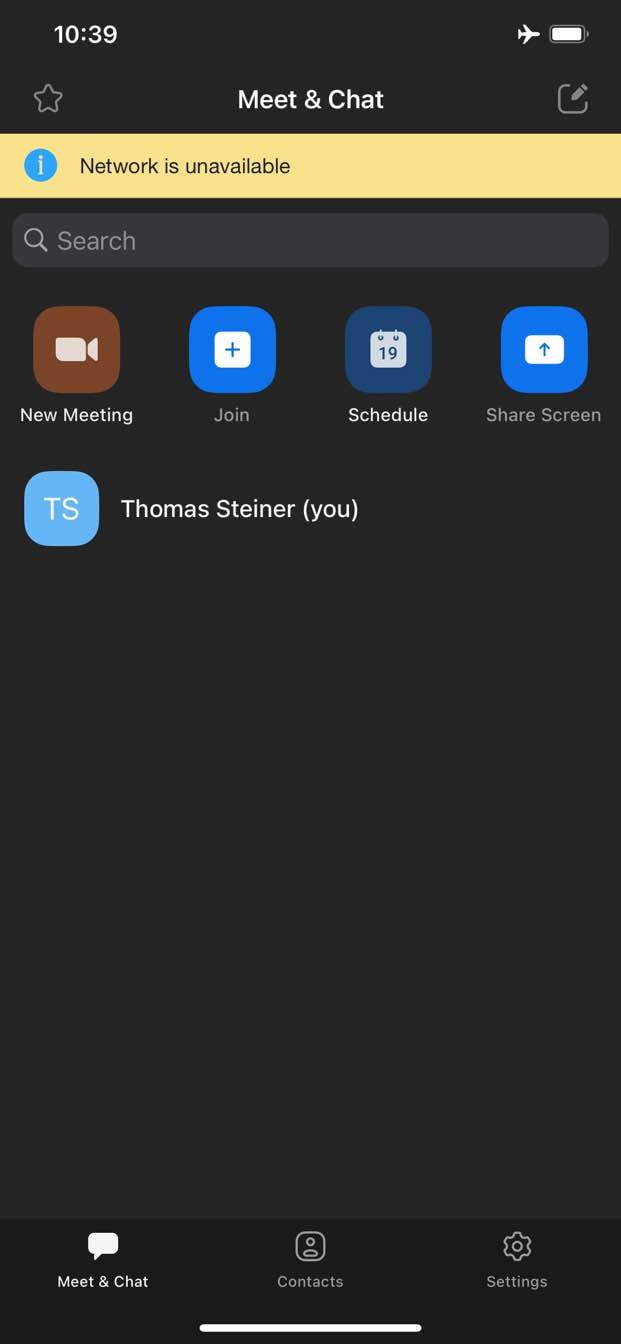
Qu'ont en commun l'application Assistant Google, l'application Slack, l'application Zoom et presque toutes les autres applications spécifiques à une plate-forme sur votre téléphone ou votre ordinateur ? Oui, ils vous donnent toujours quelque chose. Même sans connexion réseau, vous pouvez toujours ouvrir l'application Assistant, saisir Slack ou lancer Zoom. Vous n'obtiendrez peut-être rien de particulièrement utile, voire vous ne pourrez pas atteindre votre objectif, mais au moins vous obtiendrez quelque chose et l'application sera sous contrôle.
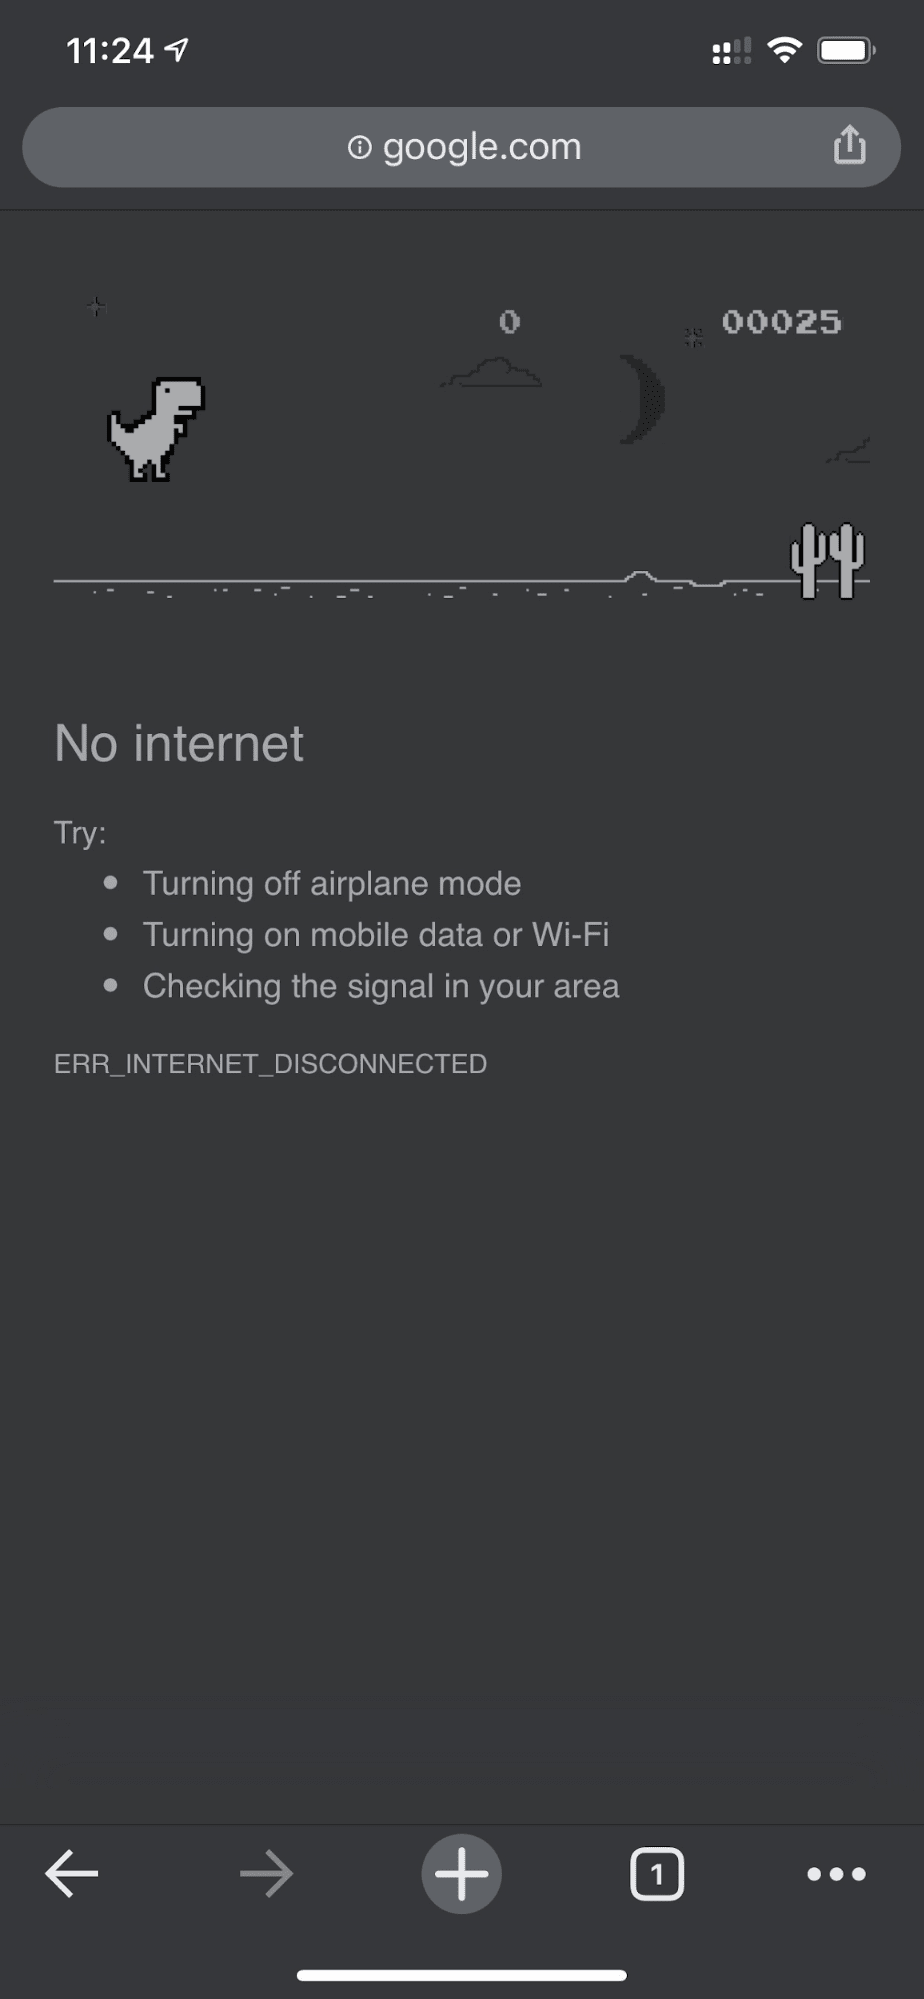
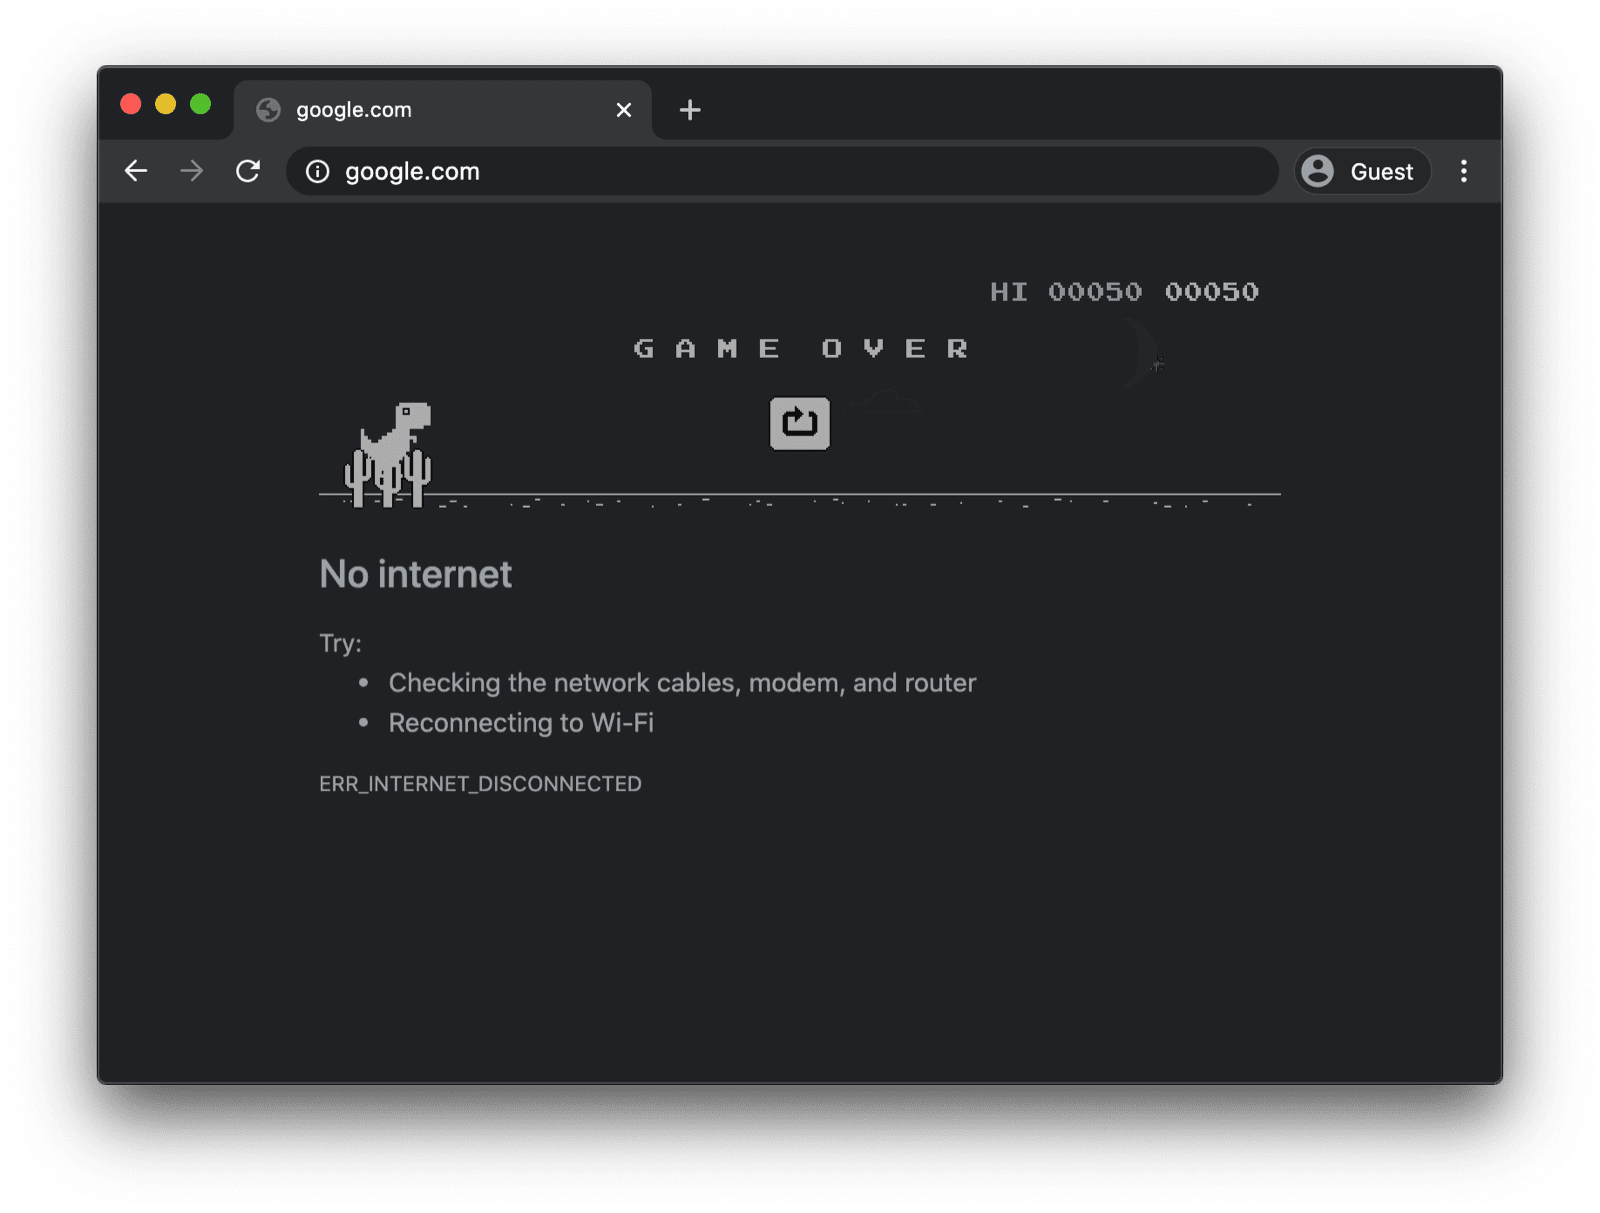
En revanche, sur le Web, vous n'obtenez généralement rien lorsque vous êtes hors connexion. Chrome vous propose le jeu du dinosaure hors connexion, mais c'est tout.
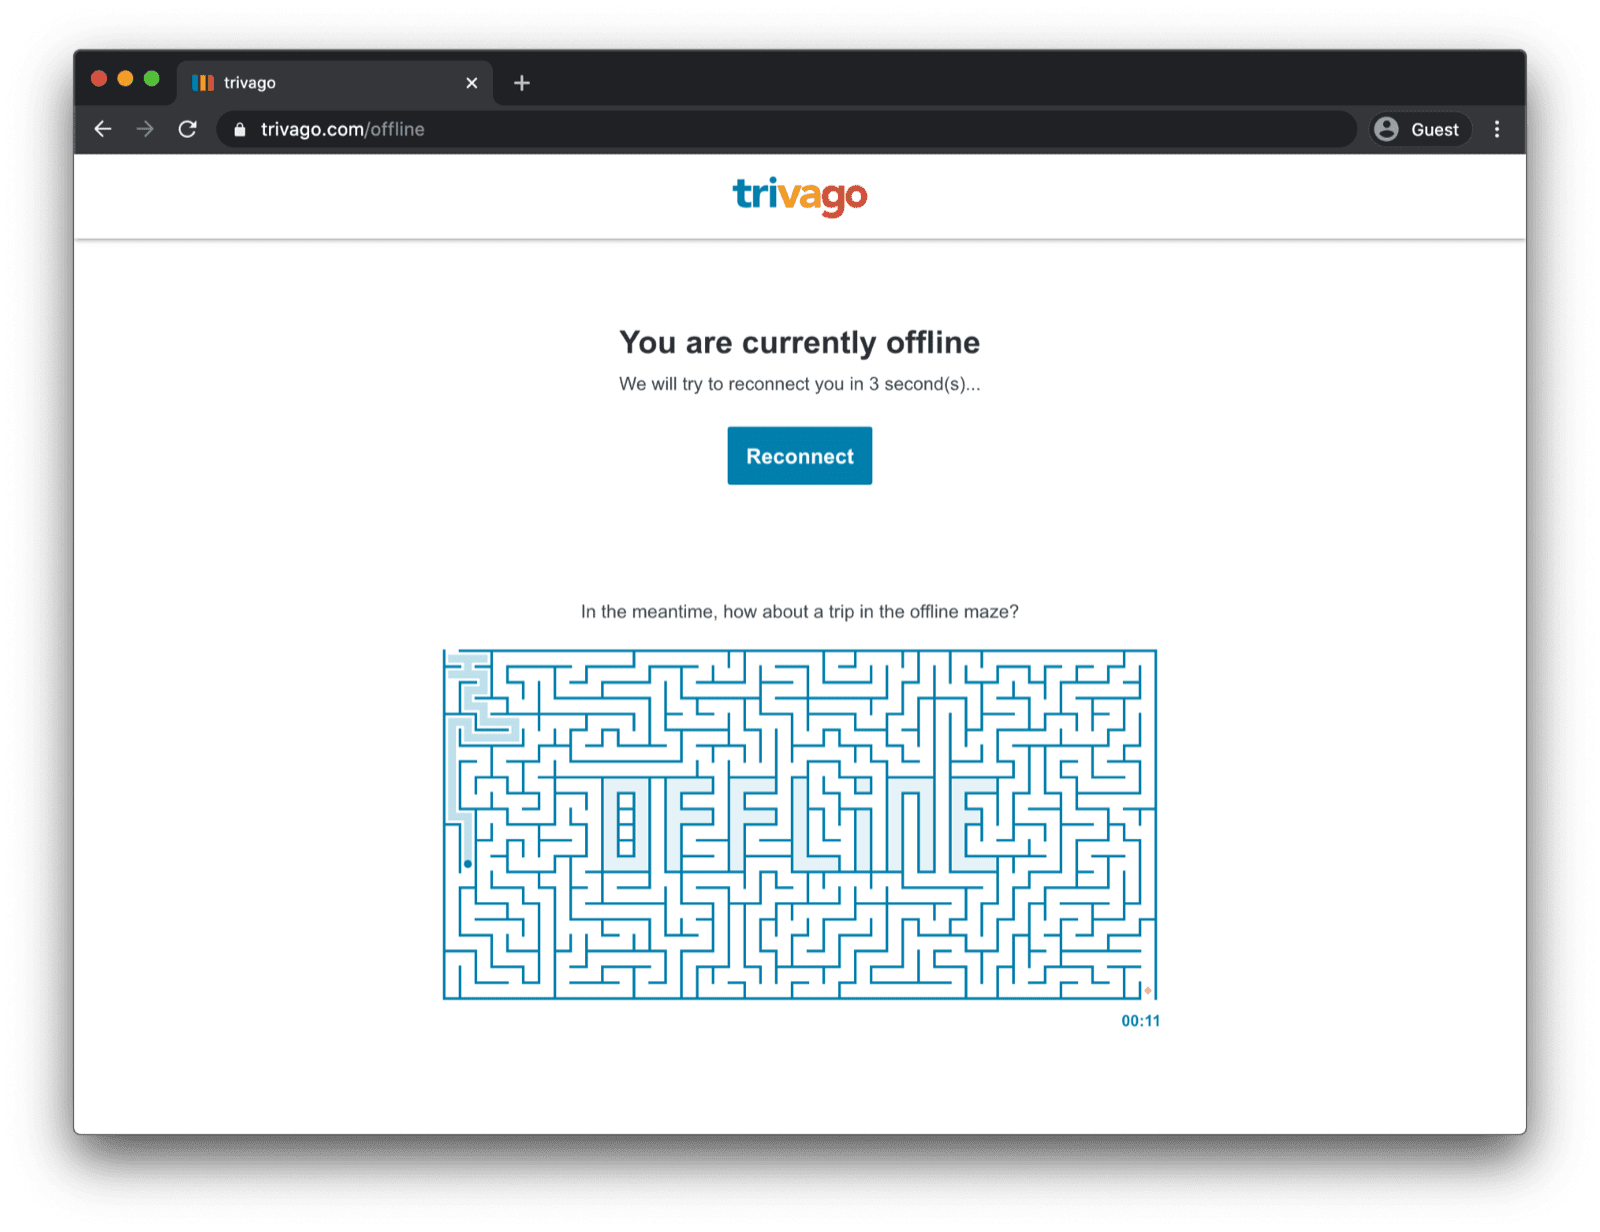
Page de secours hors connexion avec un service worker personnalisé
Mais il n'est pas nécessaire qu'il en soit ainsi. Grâce aux service workers et à l'API Cache Storage, vous pouvez offrir une expérience hors connexion personnalisée à vos utilisateurs. Il peut s'agir d'une simple page de marque indiquant que l'utilisateur est actuellement hors connexion, mais il peut tout aussi bien s'agir d'une solution plus créative, comme le célèbre jeu de labyrinthe hors connexion de trivago avec un bouton manuel Reconnecter et un compte à rebours de tentative de reconnexion automatique.
Enregistrer le service worker
Pour ce faire, vous devez utiliser un service worker. Vous pouvez enregistrer un service worker à partir de votre page principale, comme dans l'exemple de code ci-dessous. Vous effectuez généralement cette opération une fois votre application chargée.
window.addEventListener("load", () => {
  if ("serviceWorker" in navigator) {
    navigator.serviceWorker.register("service-worker.js");
  }
});
Code du service worker
Le contenu du fichier de service worker peut sembler un peu complexe à première vue, mais les commentaires de l'exemple ci-dessous devraient vous aider à y voir plus clair. L'idée principale est de pré-mettre en cache un fichier nommé offline.html qui n'est diffusé que pour les demandes de navigation échouées, et de laisser le navigateur gérer tous les autres cas :
/*
Copyright 2015, 2019, 2020, 2021 Google LLC. All Rights Reserved.
 Licensed under the Apache License, Version 2.0 (the "License");
 you may not use this file except in compliance with the License.
 You may obtain a copy of the License at
 http://www.apache.org/licenses/LICENSE-2.0
 Unless required by applicable law or agreed to in writing, software
 distributed under the License is distributed on an "AS IS" BASIS,
 WITHOUT WARRANTIES OR CONDITIONS OF ANY KIND, either express or implied.
 See the License for the specific language governing permissions and
 limitations under the License.
*/

// Incrementing OFFLINE_VERSION will kick off the install event and force
// previously cached resources to be updated from the network.
// This variable is intentionally declared and unused.
// Add a comment for your linter if you want:
// eslint-disable-next-line no-unused-vars
const OFFLINE_VERSION = 1;
const CACHE_NAME = "offline";
// Customize this with a different URL if needed.
const OFFLINE_URL = "offline.html";

self.addEventListener("install", (event) => {
  event.waitUntil(
    (async () => {
      const cache = await caches.open(CACHE_NAME);
      // Setting {cache: 'reload'} in the new request ensures that the
      // response isn't fulfilled from the HTTP cache; i.e., it will be
      // from the network.
      await cache.add(new Request(OFFLINE_URL, { cache: "reload" }));
    })()
  );
  // Force the waiting service worker to become the active service worker.
  self.skipWaiting();
});

self.addEventListener("activate", (event) => {
  event.waitUntil(
    (async () => {
      // Enable navigation preload if it's supported.
      // See https://developers.google.com/web/updates/2017/02/navigation-preload
      if ("navigationPreload" in self.registration) {
        await self.registration.navigationPreload.enable();
      }
    })()
  );

  // Tell the active service worker to take control of the page immediately.
  self.clients.claim();
});

self.addEventListener("fetch", (event) => {
  // Only call event.respondWith() if this is a navigation request
  // for an HTML page.
  if (event.request.mode === "navigate") {
    event.respondWith(
      (async () => {
        try {
          // First, try to use the navigation preload response if it's
          // supported.
          const preloadResponse = await event.preloadResponse;
          if (preloadResponse) {
            return preloadResponse;
          }

          // Always try the network first.
          const networkResponse = await fetch(event.request);
          return networkResponse;
        } catch (error) {
          // catch is only triggered if an exception is thrown, which is
          // likely due to a network error.
          // If fetch() returns a valid HTTP response with a response code in
          // the 4xx or 5xx range, the catch() will NOT be called.
          console.log("Fetch failed; returning offline page instead.", error);

          const cache = await caches.open(CACHE_NAME);
          const cachedResponse = await cache.match(OFFLINE_URL);
          return cachedResponse;
        }
      })()
    );
  }

  // If our if() condition is false, then this fetch handler won't
  // intercept the request. If there are any other fetch handlers
  // registered, they will get a chance to call event.respondWith().
  // If no fetch handlers call event.respondWith(), the request
  // will be handled by the browser as if there were no service
  // worker involvement.
});
Page de secours hors connexion
Le fichier offline.html est l'endroit où vous pouvez faire preuve de créativité, l'adapter à vos besoins et ajouter votre branding. L'exemple ci-dessous montre le strict minimum de ce qui est possible.
Il montre à la fois le rechargement manuel basé sur une pression sur un bouton et le rechargement automatique basé sur l'événement online et l'interrogation régulière du serveur.
<!DOCTYPE html>
<html lang="en">
  <head>
    <meta charset="utf-8" />
    <meta http-equiv="X-UA-Compatible" content="IE=edge" />
    <meta name="viewport" content="width=device-width, initial-scale=1" />

    <title>You are offline</title>

    <!-- Inline the page's stylesheet. -->
    <style>
      body {
        font-family: helvetica, arial, sans-serif;
        margin: 2em;
      }

      h1 {
        font-style: italic;
        color: #373fff;
      }

      p {
        margin-block: 1rem;
      }

      button {
        display: block;
      }
    </style>
  </head>
  <body>
    <h1>You are offline</h1>

    <p>Click the button below to try reloading.</p>
    <button type="button">⤾ Reload</button>

    <!-- Inline the page's JavaScript file. -->
    <script>
      // Manual reload feature.
      document.querySelector("button").addEventListener("click", () => {
        window.location.reload();
      });

      // Listen to changes in the network state, reload when online.
      // This handles the case when the device is completely offline.
      window.addEventListener('online', () => {
        window.location.reload();
      });

      // Check if the server is responding and reload the page if it is.
      // This handles the case when the device is online, but the server
      // is offline or misbehaving.
      async function checkNetworkAndReload() {
        try {
          const response = await fetch('.');
          // Verify we get a valid response from the server
          if (response.status >= 200 && response.status < 500) {
            window.location.reload();
            return;
          }
        } catch {
          // Unable to connect to the server, ignore.
        }
        window.setTimeout(checkNetworkAndReload, 2500);
      }

      checkNetworkAndReload();
    </script>
  </body>
</html>
Démo
Vous pouvez voir la page de secours hors connexion en action dans la démonstration intégrée ci-dessous. Si vous le souhaitez, vous pouvez explorer le code source sur GitHub.
Remarque sur la possibilité d'installer votre application
Maintenant que votre site dispose d'une page de secours hors connexion, vous vous demandez peut-être quelles sont les prochaines étapes. Pour rendre votre application installable, vous devez ajouter un fichier manifeste d'application Web et, éventuellement, définir une stratégie d'installation.
Remarque sur la diffusion d'une page de remplacement hors connexion avec Workbox.js
Vous avez peut-être déjà entendu parler de Workbox. Workbox est un ensemble de bibliothèques JavaScript permettant d'ajouter la prise en charge hors connexion aux applications Web. Si vous préférez écrire moins de code de service worker vous-même, vous pouvez utiliser la recette Workbox pour une page hors connexion uniquement.
Ensuite, découvrez comment définir une stratégie d'installation pour votre application.